 Seattle Siding
 Building New in Queen Anne? Your Windows Need to Match the Hill
Queen Anne sits higher and more exposed than most of the surrounding city, and that changes what a new-construction window job actually needs to hold up. Whether you're framing a new single-family home, an ADU, or a major addition, the window openings are one of the few parts of the building envelope you only get to build correctly once. Get the flashing, sealing, and product selection right during framing, and the windows will perform for decades. Get it wrong, and the first sign of trouble is usually hidden behind drywall and siding until a wall cavity is already wet.
New-construction windows are a different job from a retrofit or replacement. On a new build, the window opening is bare framing with no existing siding, trim, or weather-resistive barrier (WRB) to work around. That's an advantage — it means the window can be integrated into the wall assembly properly, with full access to flash the rough opening correctly before anything closes it up. Our crews have worked new construction across Queen Anne's mix of infill lots, remodels, and hillside builds, and we treat that access as the whole point of doing the job right the first time.
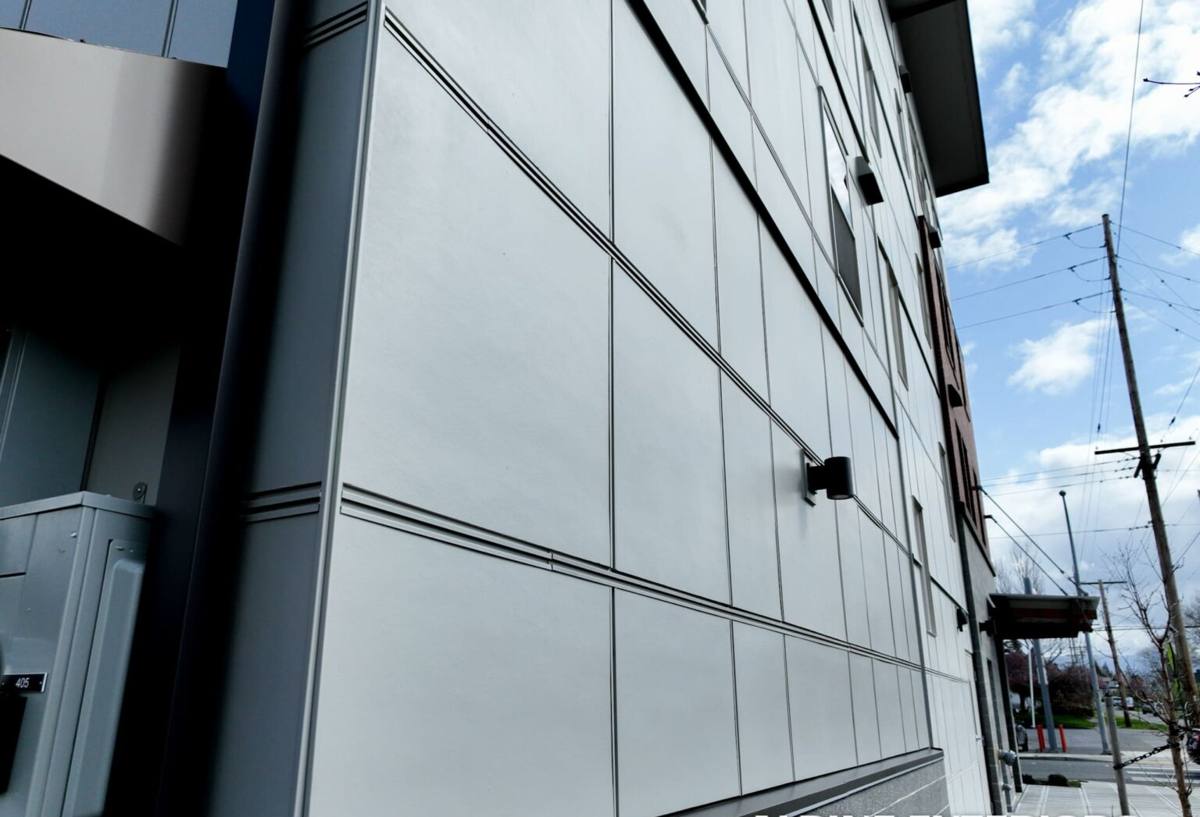
What Queen Anne's Climate Actually Demands
Seattle's marine climate isn't uniform across the city, and Queen Anne's elevation and exposure to water on multiple sides push a few specific issues to the top of the list.
Driving Rain and Wind Exposure
Higher elevation and open exposure toward the water mean more wind-driven rain hitting window walls at an angle, not just falling straight down. That kind of rain finds its way into gaps that a calmer site would never test. Rough opening flashing has to shed water outward and downward at every layer, not just rely on caulk at the trim.
Salt Air and Metal Components
Proximity to Puget Sound means a steady trace of salt in the air, which accelerates corrosion on unprotected fasteners, weep hardware, and lower-grade window hardware over time. It's a slow process, but it's a real one, and it factors into which frame materials and hardware finishes we recommend for homes closer to the water.
A Long Moss and Damp Season
King County's extended wet season — often six months or more of consistent moisture — keeps building materials damp longer than in drier climates. Wood trim, sealants, and even some composite materials stay wet longer after a rain event, which is exactly the condition that lets rot and moss establish themselves around window perimeters if the assembly wasn't detailed to dry out.
None of this means Queen Anne is a uniquely difficult place to build. It means the margin for error on flashing and product selection is smaller than in a drier inland climate, and a new-construction window job should be built with that margin in mind from day one.
New Construction vs. Replacement: Why the Distinction Matters
Homeowners sometimes assume "new-construction window" just means a newer window. It actually refers to the installation method:
- New-construction (nail-fin) windows attach through a flange directly to the wall sheathing before siding goes on, allowing the WRB and flashing to layer over the fin in the correct shingle-style sequence.
- Replacement (pocket) windows are inserted into an existing frame with the old exterior trim left in place, trading some water-management control for speed and less disruption to finished walls.
On a true new build or addition in Queen Anne, nail-fin new-construction windows are almost always the right call, because they let us build the water management into the wall assembly rather than work around what's already there. The tradeoff is that the sequencing matters a lot: WRB, flashing tape, sill pan, and window all have to go in a specific order, by crews who do it the same way every time.
What a Correct New-Construction Window Installation Involves
1. The Rough Opening and Sill Pan
Before the window ever goes in, the rough opening gets a sloped sill pan so any water that gets past the window has somewhere to go — out, not into the wall. This step is invisible once the job is finished, which is exactly why it's the step most likely to get skipped by crews in a hurry.
2. Flashing in the Correct Sequence
Flashing tape and the WRB need to layer like shingles: sill first, then jambs, then the head flashing last, so water always drains down and out over the layer below it rather than behind it. Reversing this order is a common source of hidden leaks that don't show up for years.
3. Setting the Window Level, Plumb, and Square
Even a well-built window will perform poorly if it's racked in the opening. Shimming at the correct points supports the frame without distorting it, which matters for both weather-sealing and long-term operation of the sash.
4. Insulating the Gap Without Overfilling
The gap between the window frame and rough opening needs low-expansion foam or backer rod and sealant — not standard high-expansion foam, which can bow the frame and cause the window to bind or seal poorly.
5. Exterior Trim and Final Sealant Lines
Sealant is the last line of defense, not the first. A correctly flashed window should be able to shed water even if a bead of caulk eventually fails — because eventually, it will.
Choosing Window Products for a Queen Anne Build
Frame material, glazing, and hardware all interact with the climate factors above. There's no single "best" product for every project — the right choice depends on budget, exposure, and the look of the home — but here's how the common options compare for a Seattle new-construction job:
| Frame Material | Typical Strengths | Considerations in This Climate |
|---|---|---|
| Vinyl | Lower cost, no repainting, good energy performance | Fine in most exposures; verify UV-stable, reinforced frames on larger sizes |
| Fiberglass | Very stable in temperature swings, strong, low maintenance | Higher upfront cost, holds up well under sustained damp exposure |
| Wood (unclad interior/clad exterior) | Traditional look, popular on Queen Anne's older-style architecture | Exterior cladding and flashing detail matter more; interior wood needs upkeep |
| Aluminum | Slim sightlines, good for large view openings | Thermal break required for energy code; hardware finish matters near salt air |
For Washington State Energy Code compliance, U-factor and solar heat gain coefficient targets vary by orientation and glazing percentage — this matters more on view-oriented Queen Anne homes with large window walls, since more glass area shifts the whole home's energy compliance path. Bedrooms also need to meet egress sizing and sill-height requirements, and any glazing near walking surfaces, stairs, or wet areas needs to be tempered safety glass under code. These aren't optional upgrades; they're baseline requirements we build into the window schedule from the plan review stage.
Our Process for New-Construction Window Jobs
- Plan review: We review the window schedule against code requirements (egress, safety glazing, energy compliance) before ordering, so nothing gets caught at inspection.
- Rough opening prep: Sill pans and flashing sequence are installed to spec, coordinated with the framing and WRB schedule.
- Window installation: Units are set level, plumb, and square, fastened per manufacturer spec to preserve warranty coverage.
- Sealing and insulation: Low-expansion foam and correctly layered sealant lines close out the assembly.
- Final inspection walk: We check operation, seal lines, and flashing laps before trim and siding close in around the openings.
Why It Matters to Hire a Crew That Already Works Queen Anne
Queen Anne has its own practical quirks that come up on almost every job: narrow and hillside lots that limit staging and material access, older adjacent infrastructure that affects site logistics, and permitting through Seattle's Department of Construction and Inspections, which has specific expectations for how window schedules are documented on plans. A crew that's pulled permits and passed inspections in this neighborhood before isn't guessing at what an inspector will flag — they already know.
That familiarity also shows up in smaller ways: knowing which blocks see harder wind-driven rain off the water, sequencing deliveries and crane or lift access on tight hillside lots, and building in extra dry-in time when the forecast calls for one of Seattle's longer wet stretches. None of it is exotic knowledge, but it's the difference between a job that goes smoothly and one that hits avoidable delays.
What Affects the Cost of a New-Construction Window Package
| Factor | Why It Moves the Price |
|---|---|
| Frame material | Vinyl, fiberglass, wood-clad, and aluminum carry different material and labor costs |
| Window size and count | Large view openings and multi-window walls need larger headers, more structural coordination |
| Glazing package | Tempered, low-E coatings, and higher-performance glass for energy code compliance add cost |
| Site access | Hillside lots or tight infill sites can require extra staging, lifts, or hand-carrying materials |
| Custom shapes or sizes | Non-standard openings (arched, oversized, corner units) are priced outside standard sizing |
Rather than quote a flat number that won't reflect your actual plans, we walk the site or review your architectural drawings and give you a real range based on the window schedule as designed.
A Practical Checklist Before You Order Windows
- Confirm frame material fits your exposure (closer to the water generally favors fiberglass or well-finished vinyl over bare wood exteriors)
- Verify U-factor and SHGC values meet Washington State Energy Code for your specific glazing percentage
- Check that bedroom windows meet egress size and sill height requirements
- Confirm tempered glass is specified anywhere code requires it (stairs, wet areas, low sills)
- Ask your contractor to walk through the flashing sequence they plan to use, not just the window brand
- Build extra dry-in schedule buffer for wet-season framing
Get a Straight Answer on Your Window Plans
If you're framing a new home, ADU, or addition in Queen Anne, we're happy to look over your window schedule and talk through frame options, code requirements, and realistic timing for your site. There's no pressure and no sales pitch — just a straightforward estimate based on your actual plans. Use the form below to get started.