 Seattle Siding
 Siding Replacement Built for Rainier Valley's Climate
Rainier Valley sits in one of Seattle's more distinct microclimates. The valley traps moisture longer than exposed ridgelines, mature tree canopy keeps large sections of roofs and walls shaded for much of the year, and the neighborhood's mix of older bungalows, mid-century houses, and newer infill construction means siding conditions vary block to block. When we talk about siding replacement here, we're not describing a generic Seattle service — we're describing what actually happens to exterior walls in this specific part of King County, and what it takes to get a replacement right the first time.
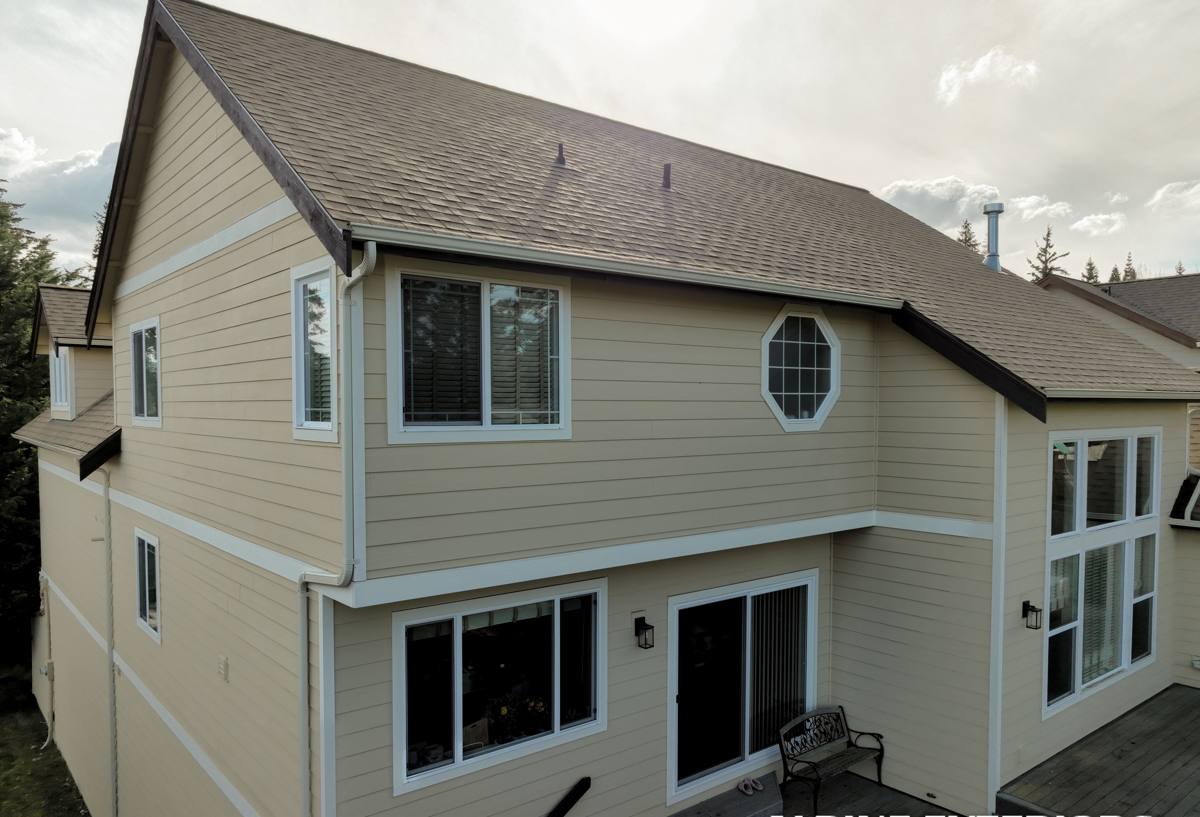
What Seattle's Climate Does to Siding in This Neighborhood
Moss and Prolonged Moisture
Seattle's long, low-intensity rainy season means siding surfaces often stay damp for days at a stretch rather than getting a hard rain and then drying out. Combine that with shaded, tree-lined streets common throughout Rainier Valley, and you get ideal conditions for moss, algae, and mildew to take hold on north-facing and shaded walls. On porous or poorly sealed siding, that moisture doesn't stay on the surface — it works into seams, fastener holes, and butt joints over time.
Driving Rain and Wind-Driven Wet
Winter storms off Puget Sound regularly push rain sideways, not just down. That matters more than most homeowners realize: siding that handles vertical rain fine can still fail if it wasn't installed with proper flashing, laps, and drainage behind it to shed wind-driven moisture away from the wall assembly.
Marine Air and Coastal Exposure
Greater Seattle's marine climate carries a faint but persistent salt content in the air, especially closer to the water. Over years, that salt-tinged moisture accelerates corrosion on exposed fasteners and metal trim, and it contributes to the slow breakdown of paint films on lower-grade siding materials. It's a slower process than what you'd see on a beachfront home, but it's real, and it adds up over a few decades.
Signs a Rainier Valley Home Needs Siding Replacement
Siding problems in this climate tend to show up gradually, which is exactly why they often go unaddressed until they're expensive. Walk your exterior and look for:
- Visible cracking, warping, or buckling panels, especially on sun-exposed south and west walls
- Soft or spongy spots when you press on the siding, a sign of trapped moisture and possible rot underneath
- Persistent moss or dark streaking that returns quickly after cleaning
- Paint that's peeling, bubbling, or chalking well before its expected repaint interval
- Gaps opening up at trim boards, corners, or window and door casings
- Siding pulling slightly away from the wall, or fasteners visibly backing out
- Noticeably higher heating bills, which can point to a compromised weather barrier behind failing siding
Any one of these on its own might just need a repair. Several at once, especially on a home that's original to its build era, usually means the siding system as a whole has reached the end of its useful life.
What a Correct Siding Replacement Job Actually Involves
Tear-Off and Sheathing Inspection
Replacement starts with full removal of the old siding, not covering over it. That's the only way to actually see what's happening at the sheathing and framing level. In a climate like this one, it's common to find some degree of moisture damage behind older siding, particularly around window openings, roof-wall intersections, and lower wall sections. Any soft or compromised sheathing gets repaired before anything new goes up — siding installed over damaged substrate fails early no matter how good the material is.
Weather-Resistive Barrier and Flashing
A correctly detailed drainage plane behind the siding is what actually keeps wind-driven rain out of the wall assembly. That means a properly lapped weather-resistive barrier, correctly integrated window and door flashing, and kick-out flashing where rooflines meet walls. This is the part of the job that's invisible once it's finished — and the part that determines whether the siding lasts fifteen years or fifty.
Material Installation to Spec
Every siding material has a manufacturer installation spec covering fastener type and spacing, gapping at joints and trim, and minimum clearance from grade, decks, and roof surfaces. Skipping these details is the single most common cause of premature siding failure we see on older homes in this area, and it's usually not visible until moisture damage has already set in.
Why We Install Only James Hardie Fiber Cement
We standardized on James Hardie fiber cement siding and don't install vinyl, LP SmartSide, primed spruce, cedar, or other fiber cement brands. That's a deliberate decision based on how these materials actually perform over decades in a wet, moss-prone climate like Rainier Valley's — not a sales preference.
| Consideration | James Hardie Fiber Cement | Vinyl / Engineered Wood |
|---|---|---|
| Moisture behavior | Non-combustible, engineered to resist moisture-driven warping and rot | Vinyl can warp with heat; engineered wood is vulnerable to moisture at cut edges and joints |
| Moss and algae resistance | Dense fiber cement surface resists organic growth better than porous wood-based products | Wood-based products absorb moisture, giving moss and mildew more to grip |
| Finish and fading | Factory-applied ColorPlus finish is baked on and warrantied against fading and peeling | Field-applied paint on wood products needs more frequent recoating; vinyl color can fade unevenly |
| Fire rating | Non-combustible material | Combustible |
| Long-term cost | Higher upfront, lower lifetime maintenance and recoating cost | Lower upfront, higher recurring maintenance cost over the same period |
None of the alternatives are junk products — they have real strengths and legitimate uses. But for a climate that keeps siding wet for long stretches and grows moss on anything that holds moisture, we've made the call that fiber cement's density, factory finish, and moisture resilience is what we're willing to put our name behind. James Hardie's HZ5 product line is specifically engineered for climates like the Pacific Northwest's, and the transferable warranty gives homeowners real backing if something does go wrong.
Our Siding Replacement Process for Rainier Valley Homes
- On-site assessment — we walk the full exterior, check for moisture damage and soft spots, and evaluate the existing wall assembly.
- Written scope and estimate — a clear breakdown of tear-off, repairs, materials, and labor, so there are no surprises mid-project.
- Tear-off and substrate repair — old siding removed, damaged sheathing or framing addressed before moving forward.
- Weather barrier and flashing installation — the drainage plane detailing that determines long-term performance.
- Hardie installation to manufacturer spec — correct fastening, gapping, and clearances throughout.
- Final walkthrough — we review the finished work with you before calling the job done.
Cost Factors for Siding Replacement in This Area
Every home is different, but the factors that most often move the price on a Rainier Valley siding replacement are consistent:
| Factor | Why It Affects Cost |
|---|---|
| Home size and wall square footage | More surface area means more material and labor |
| Condition of existing sheathing | Moisture-damaged substrate found during tear-off requires repair before new siding goes on |
| Siding profile and trim detail | Lap siding, panel systems, and detailed trim work each carry different labor requirements |
| Home accessibility | Multi-story homes, tight lot lines, and limited staging area can add labor time |
| Number of penetrations | Windows, doors, vents, and roof-wall intersections each need individual flashing and trim work |
We give straightforward, written estimates after an in-person assessment — not a ballpark number over the phone, since the condition behind the old siding matters as much as the square footage.
Why Hiring a Crew That Already Works in Rainier Valley Matters
A contractor who regularly works this neighborhood already understands its housing stock, its shaded and moisture-prone lots, and the kind of moisture damage that tends to show up behind older siding here. That familiarity shows up in faster, more accurate assessments and fewer surprises once tear-off starts. It also means a crew that's used to working respectfully in a dense, established residential neighborhood — managing access, staging, and cleanup without disrupting your street more than necessary.
Siding replacement is also not a job to hand to whoever's cheapest or fastest to schedule. The flashing and drainage details that keep a Seattle home dry for decades are exactly the details that are easiest to rush or skip, and the consequences don't show up until years later when they're expensive to fix. Local experience with this specific climate, paired with disciplined installation practices, is what actually protects the investment.
If your Rainier Valley home is showing signs of siding wear, or you're simply trying to plan ahead before small problems become expensive ones, we're happy to take a look. Reach out for a free, no-pressure estimate using the form below.