 Seattle Siding
 Siding Installation in University District: What Local Homes Actually Need
University District sits inland from Puget Sound but still lives inside the same marine climate that shapes exterior work across greater Seattle: damp air moving in off the water, long stretches of overcast days, and a canopy of mature trees that keeps roofs, walls, and north-facing siding shaded and slow to dry. That combination is exactly why siding installation in this neighborhood is not a job you want done by a crew that mostly works drier climates or unfamiliar with King County's building conditions. The materials, the flashing details, and the sequencing all have to account for moisture that lingers rather than moisture that comes and goes.
This page focuses on one job — installing siding correctly on a University District home — and what that actually requires given the neighborhood's exposure to driving rain, salt-tinged marine air, and a moss season that runs longer here than in most parts of the country.
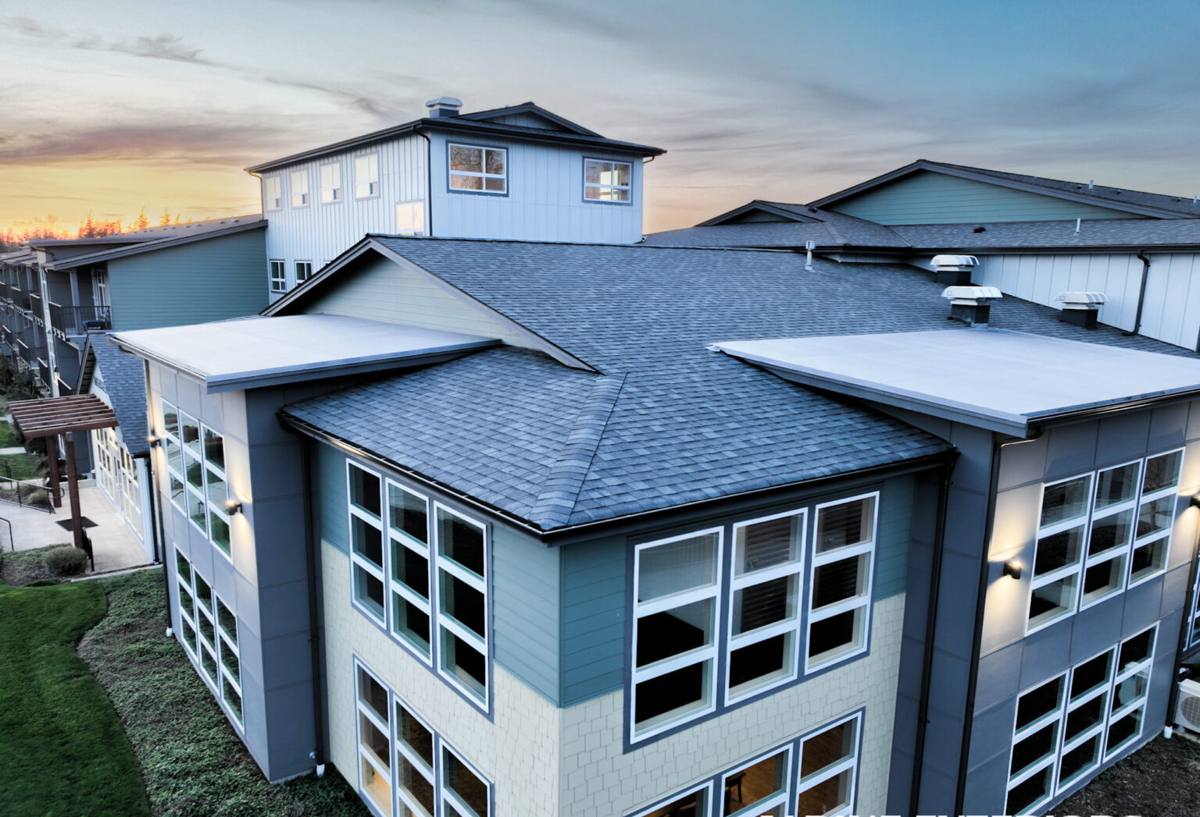
Why the Seattle Climate Is Hard on Siding
Seattle and King County don't get extreme weather so much as they get relentless weather. Rain here is rarely a short downpour — it's frequently a low-pressure system pushing wind-driven moisture sideways into walls for days at a time. Add in the region's proximity to Puget Sound, which carries a light but persistent salt content in the air, and you get an environment that quietly works against siding that isn't built or installed for it.
Driving Rain and Wall Assemblies
Wind-driven rain doesn't just wet a wall's surface — it pushes water sideways and upward at seams, laps, and penetrations. If the water-resistive barrier behind the siding isn't lapped correctly, or if flashing at windows and trim isn't detailed to shed water outward, moisture works its way behind the cladding instead of off of it. On a University District home, where many properties sit under tree cover that keeps siding damp longer after a storm, that detail work matters more than the siding brand printed on the box.
Moss Season
Shaded lots, mature landscaping, and a wet climate add up to a moss season that can run from fall through spring. Moss and algae don't just look bad — they hold moisture against the siding surface, and on materials that aren't dimensionally stable or properly sealed at the edges, that sustained dampness accelerates swelling, delamination, or paint failure over time. Siding that resists moisture at the surface, rather than absorbing it, holds up dramatically better here.
Marine Air
Salt-bearing air moving off Puget Sound is a slower, quieter problem than rain, but it's persistent. It accelerates corrosion on exposed fasteners and metal trim, and it can degrade lower-quality paint finishes faster than a purely inland climate would. Fastener choice and the durability of the factory finish both matter more in a King County installation than they would somewhere drier and further from the water.
What a Correct Siding Installation Actually Involves
A siding job that holds up in this climate is won or lost in the layers homeowners never see once the project is done. The visible board is the last step, not the first.
- Substrate inspection: checking sheathing for existing rot or soft spots before anything new goes over it — covering a problem doesn't solve it
- Water-resistive barrier: a continuous, properly lapped weather barrier installed shingle-style so water is always directed outward and down
- Flashing at every penetration: windows, doors, vents, hose bibs, and light fixtures all need flashing details that shed water rather than trap it
- Correct fastening: fasteners driven to the manufacturer's spec — not overdriven, not underdriven — and rated for exterior exposure
- Proper clearances: gaps at grade, roofline, and deck attachments so siding never sits in standing water or trapped moisture
- Rainscreen or drainage gap where called for: a small air space behind the siding that lets any incidental moisture drain and dry instead of sitting against the wall
Skip any one of these and the siding itself becomes almost irrelevant — water will find the weak point regardless of what's nailed to the outside of the house.
Why We Install Only James Hardie Fiber Cement
We don't install vinyl, LP SmartSide, primed spruce, cedar, or other fiber cement brands like Cemplank or Allura. That's a deliberate standard, not a marketing line. In a climate defined by driving rain, long wet seasons, and moss pressure, we've found that the trade-offs on those other products — moisture sensitivity at cut edges, shorter finish warranties, or maintenance schedules that don't match how most homeowners actually live — aren't worth it. James Hardie's fiber cement is non-combustible, dimensionally stable in wet-dry cycling, and available in HZ product lines engineered specifically for climate zones like the Pacific Northwest. The factory-applied ColorPlus finish is baked on under controlled conditions, which gives it more consistent, longer-lasting color performance than field-applied paint, and it comes with a real transferable warranty backing both the substrate and the finish. When it's installed correctly — which is the harder half of the equation — it's the product we're comfortable putting our name behind on a University District home.
Our Installation Process
- On-site assessment: we walk the exterior, check for existing moisture damage, and evaluate sun/shade exposure and drainage around the home
- Tear-off and substrate repair: old siding comes off, sheathing is inspected, and any rot or damage is repaired before new material goes up
- Weather barrier and flashing: a continuous water-resistive barrier and full flashing package go in first, detailed for this climate
- Hardie installation: boards, panels, or shingle-style siding installed to manufacturer fastening and clearance specs
- Trim, caulking, and finish details: corners, trim boards, and joints sealed and finished for a clean, weathertight result
- Final walkthrough: we review the completed work with the homeowner before calling the job done
Signs a University District Home May Need New Siding
Because moisture damage often develops behind the siding before it's visible on the surface, it's worth knowing the early signs rather than waiting for obvious failure.
- Soft or spongy spots when you press on the siding near the bottom of walls or under windows
- Persistent moss or algae growth that returns quickly after cleaning
- Paint that's peeling, bubbling, or failing faster than it should
- Visible warping, cupping, or gaps opening up between boards
- Rising energy bills that suggest the wall assembly is no longer performing as insulation and cladding together
- Interior signs like musty smells or discoloration near exterior walls
Cost Factors for Siding Installation
Every home is different, but the same handful of variables drive most of the cost swing on a University District project. We won't quote a number without seeing the house, but this gives a sense of what moves the estimate.
| Factor | Why It Matters |
|---|---|
| Tear-off vs. install over existing substrate | Removing old siding and repairing sheathing adds labor but is often necessary where moisture damage exists |
| Home size and wall complexity | More corners, dormers, and trim details mean more cutting, flashing, and labor time |
| Siding profile chosen | Lap, shingle-style, and panel Hardie products vary in material and installation cost |
| Existing moisture damage | Rot repair to sheathing or framing found during tear-off adds to the scope |
| Access and site conditions | Tree cover, tight lot lines, and multi-story walls affect staging and labor time |
| Trim and finish detail level | Custom trim work and color selections add time beyond a basic install |
Why Hiring a Crew That Works University District Matters
A contractor who regularly works this neighborhood already understands its particular mix of older housing stock, tree-shaded lots, and the wet, low-light conditions that come with both. That familiarity shows up in practical ways: knowing to check for moisture patterns that are common on shaded north walls, understanding how King County permitting and inspection typically runs, and having a realistic sense of how weather windows affect scheduling here versus a drier climate. It also means a crew that's used to working carefully around mature landscaping and tighter urban lots rather than treating every job like a wide-open suburban build site.
When you're vetting a siding contractor anywhere in the Seattle area, ask direct questions: Are they licensed and insured in Washington? Will they show you the flashing and weather-barrier details, not just the finished board? Do they warranty their labor separately from the manufacturer's product warranty? A contractor confident in their work will answer all three without hesitation.
After Installation: Keeping Siding Performing in This Climate
Correctly installed fiber cement siding is low-maintenance, but "low" isn't "none," especially in a climate this wet.
- Rinse siding periodically to keep moss, algae, and organic buildup from taking hold, especially on shaded walls
- Keep gutters clear so overflow doesn't run down the siding face repeatedly
- Trim back vegetation and tree limbs that keep siding in constant shade and dampness
- Walk the exterior once or twice a year and check caulking at trim joints and penetrations
- Address any soft spots, gaps, or paint failure early rather than waiting for it to spread
If your University District home is due for new siding, or you're not sure whether what's on the walls now is doing its job, we're happy to take a look. We offer free, no-pressure estimates and can walk you through exactly what we'd find, what we'd recommend, and why.