 Seattle Siding
 Beacon Hill's Terrain Shapes What Your Siding Has to Handle
Beacon Hill sits on a long ridge running through Seattle, and that elevation cuts both ways. Homes up on the ridge often get open exposure to wind and driving rain that homes tucked into lower, more sheltered King County neighborhoods don't see as much of. Homes lower on the slopes, closer to tree cover and drainage swales, tend to stay damper longer after a storm and hold shade for more of the day. Either way, the siding on a Beacon Hill house is doing real work every wet season, not just sitting there looking good.
Add in the salt-laden marine air that moves through the Seattle area off Puget Sound, and you've got a combination of moisture, wind, and airborne salt that ages siding faster than most homeowners expect. A product and installation method that works fine in a dry climate can fail here in ways that aren't obvious until moisture has already gotten behind the cladding.
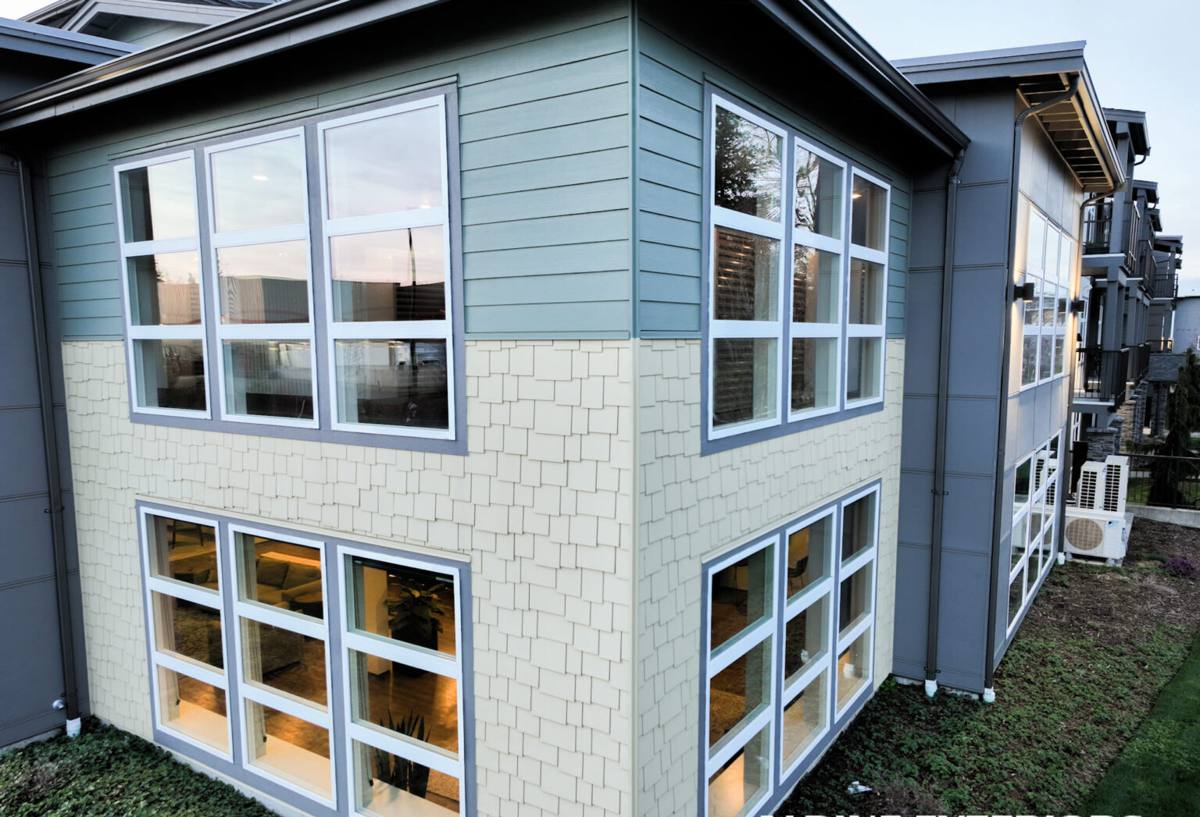
Why Standard Siding Struggles on a Beacon Hill House
Driving Rain and Wind Exposure
Wind-driven rain doesn't just fall straight down — it gets pushed sideways and upward under laps, around trim, and into any gap that isn't properly flashed. On exposed parts of the ridge, this happens more often and with more force than in sheltered low-lying areas. Siding that relies on caulk and paint alone to keep water out, instead of a real drainage plane behind it, is fighting a losing battle here.
The Long Moss and Algae Season
Seattle's wet season stretches long, and shaded, north-facing, or tree-adjacent walls on Beacon Hill can stay damp for weeks at a stretch. That's exactly the environment moss, algae, and mildew need to take hold. Untreated or absorbent siding materials give these organisms something to grip onto and feed from, and once established, moss holds moisture against the wall surface even longer — accelerating rot underneath if there's any gap in the water management.
Salt Air and Coastal Moisture
Salt-bearing moisture in the air doesn't just sit on the surface — it works into porous or poorly sealed materials over time, breaking down finishes and accelerating corrosion of fasteners and trim. A siding system needs a finish and installation detail that's built to shed this kind of exposure year after year, not just look good the first season.
What a Correct Siding Installation Actually Involves
Good siding is less about the panel itself and more about everything behind it. On a Beacon Hill home, we treat the water management system as the real product being installed — the visible siding is just the outer layer of it.
- A code-compliant weather-resistant barrier (WRB) installed shingle-fashion so water is always directed outward and down
- A rainscreen gap or drainage plane so any moisture that gets past the siding can drain and dry instead of sitting against the sheathing
- Correct flashing at every window, door, deck ledger, and roof-to-wall transition — the places where most real leaks start
- Fastener placement and spacing that matches manufacturer specs, not just "close enough"
- Proper caulking at joints designed to move, and no caulking at joints designed to drain
- Factory-applied finish on the siding itself, so color and sealant performance don't depend on field-applied paint holding up in this climate
Skip any one of these steps and the siding can still look fine for a year or two before problems show up behind it — which is exactly why installation quality matters more than most homeowners are told.
Why We Install Only James Hardie Fiber Cement
We made a deliberate decision to install one product system — James Hardie fiber cement siding — rather than offer a menu of materials. That's not about limiting options for its own sake; it's because the alternatives all carry trade-offs we're not willing to install on a home and stand behind.
Fiber cement is non-combustible, which matters both for wildfire-adjacent risk and for basic peace of mind. Hardie's ColorPlus factory-applied finish is baked on under controlled conditions, giving it better fade and moisture resistance than field-applied paint, which is important given how long our wet season runs. Hardie also engineers specific product lines (their HZ5 line, built for climates like ours) for the exact combination of moisture and temperature swings the Pacific Northwest sees. And the warranty is a real, transferable manufacturer warranty — not just a labor guarantee from whoever happened to install it.
We don't install vinyl, LP SmartSide, Cemplank, Allura, or untreated wood siding like primed spruce or cedar. Each of those has legitimate uses and each has genuine strengths. But for a Beacon Hill home dealing with driving rain, long moss seasons, and salt air, we've seen enough real-world performance differences over enough years that we standardized on one product we can install correctly and back with confidence.
Our Installation Process for Beacon Hill Homes
1. Site and Exposure Assessment
We look at where the house sits relative to the ridge, prevailing wind direction, tree cover, and shade patterns before we even talk product details. A home on an exposed upper slope gets different attention to wind-driven rain detailing than one tucked into a shaded lower lot.
2. Tear-Off and Sheathing Inspection
Old siding comes off and we inspect the sheathing underneath for hidden moisture damage or rot — problems that are common on older Beacon Hill homes where original water management wasn't built to today's standards. Anything compromised gets repaired before new siding goes up; covering over a soft spot just hides the problem.
3. Water Management Installation
WRB, flashing, and rainscreen components go in per code and per manufacturer spec, with extra attention at every penetration and transition.
4. Hardie Siding Installation
Panels, fasteners, and joints are installed to Hardie's published specifications — the specifications that keep the warranty valid and the performance real.
5. Final Detailing and Walkthrough
Trim, caulking at movement joints, and a final inspection close out the job, with a walkthrough so you understand what was done and why.
Matching the Approach to Beacon Hill's Housing Stock
Beacon Hill has a genuine mix of housing ages and styles — older post-war bungalows, mid-century homes, and newer infill construction sit near each other block by block. Older homes more often need sheathing repair and updated flashing details since they predate current water-management standards. Newer construction sometimes has better bones but can still have installation shortcuts that weren't caught at the time. We adjust our process to what we actually find on your walls, not a one-size assumption based on the home's age.
Cost Factors for Siding Installation
Every home is different, but these are the main factors that move the price on a Beacon Hill siding installation:
| Factor | Why It Matters |
|---|---|
| Home size and wall complexity | More corners, gables, and dormers mean more cutting, flashing, and labor time |
| Condition of existing sheathing | Hidden rot or moisture damage found during tear-off requires repair before siding can go up |
| Exposure and elevation | Upper-slope, wind-exposed walls may need more robust flashing and rainscreen detailing |
| Existing siding type | Some materials remove faster and cleaner than others, affecting tear-off time |
| Access and site conditions | Slopes, retaining walls, and tight lot lines common on Beacon Hill can affect staging and scaffolding needs |
| Trim and detail work | Window and door trim, corner details, and color selections all factor into total scope |
Choosing a Contractor Who Already Works Beacon Hill
A crew that already works this neighborhood knows the terrain, the exposure patterns, and the kind of housing stock you're likely to find on any given block — which means fewer surprises once tear-off starts. Here's what to look for when vetting a siding contractor for a Beacon Hill home:
- Manufacturer certification or documented training on the specific siding product they're installing
- A clear explanation of the water management system going behind the siding, not just the visible product
- Willingness to inspect and discuss sheathing condition before quoting a final price
- Familiarity with local permitting and any site-access challenges tied to sloped or terraced lots
- A written scope that names the flashing, WRB, and fastening details — not just "siding installation" as a line item
- A real, transferable manufacturer warranty backing the product, in addition to a workmanship warranty
Living With Your New Siding
Once correctly installed, James Hardie siding needs very little from you. The factory finish handles fading and moisture far better than field paint, and the drainage plane behind it keeps incidental moisture from becoming a structural problem. You'll still want to keep gutters clear and trim back vegetation that shades the walls, since reducing prolonged dampness is the best defense against moss taking hold again — but you won't be repainting or re-caulking on the schedule that older siding demanded.
If you're planning a siding project on Beacon Hill, we're happy to walk your home, look at your specific exposure and existing wall condition, and give you a straightforward estimate — no pressure, no hard sell. Use the form below to get started.