 Seattle Siding
 New-Construction Windows Are a Different Job Than Replacement
New-construction window installation and window replacement look similar from the curb, but they're not the same trade. On a new build or an addition, the window goes into a raw, unfinished opening — there's no old frame to reference, no existing flashing to work around, and no siding to patch back in around the unit. That's actually an advantage: done correctly, a new-construction install gives you a cleaner, more durable water-management system than almost any retrofit can achieve. The trade-off is that there's no room for shortcuts. Every layer — sheathing, weather-resistive barrier, flashing tape, sill pan, the window itself, and the siding that laps over it — has to go in in the right order, or the whole assembly is compromised before the drywall even goes up.
For homes in Bellevue, getting that sequence right matters more than it might in a drier climate. We install windows as part of new construction and additions throughout the Eastside, and we build every opening to handle what King County weather actually does to a house, not just what the code minimum requires.
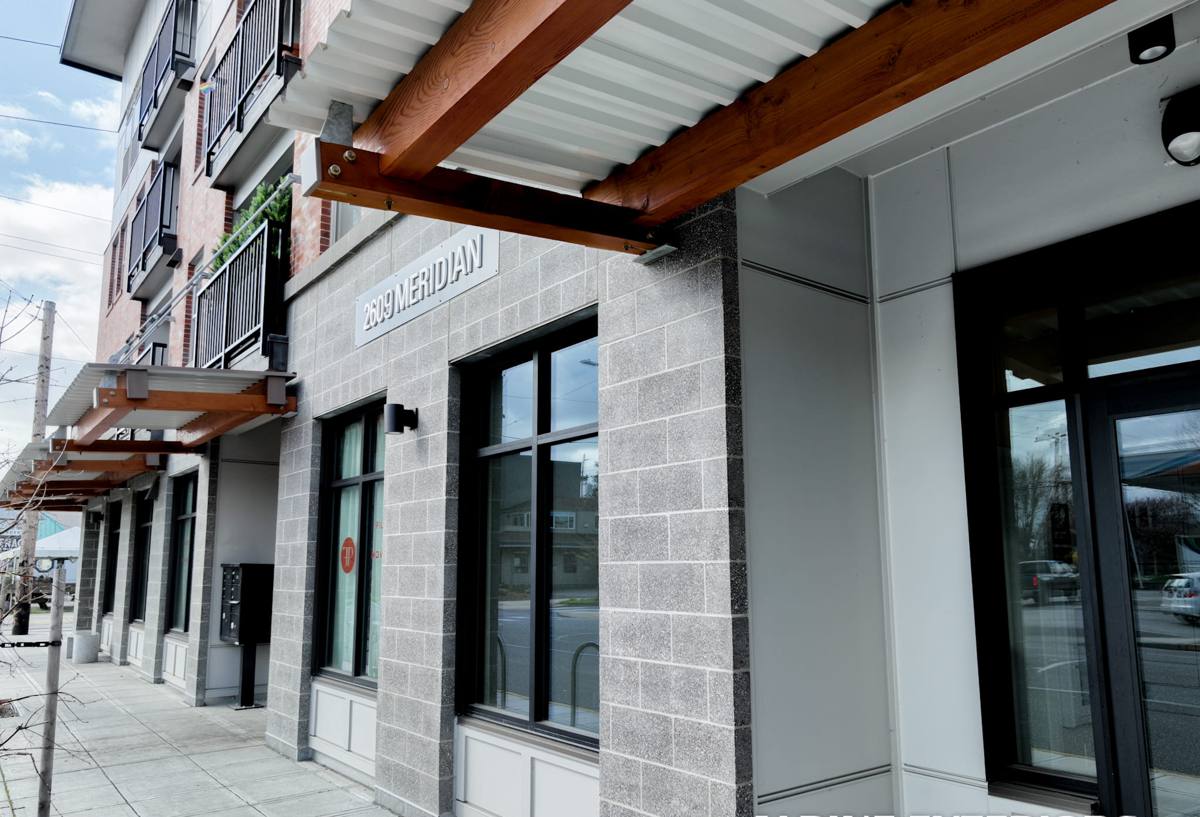
What Bellevue's Climate Asks of a Window Installation
Bellevue sits in a Pacific Northwest marine climate — long stretches of driving, wind-pushed rain from fall through spring, high ambient humidity most of the year, and a moss and algae season that starts as soon as surfaces stay damp for more than a few days at a time. Add in the salt-tinged marine air that moves inland off Puget Sound on a west wind, and every exterior penetration on a house — windows included — is a spot where moisture wants to find a way in and stay.
None of that is dramatic on its own. The problem is cumulative: a rough opening that's flashed even slightly out of sequence won't fail in the first year. It fails three, five, or eight years later, quietly, inside the wall cavity, long after the builder and the original crew are gone. That's why we treat every new-construction window opening as a water-management system first and a hole for a window second.
What this means in practice
- Sill pans on every opening, not just the ones facing weather — wind-driven rain in this region doesn't respect orientation the way it might in calmer climates.
- Flashing tape and sealants rated for cool, damp application conditions, since a lot of Bellevue framing happens in temperatures and humidity that stress lesser products.
- Enough drainage path behind the window flange that incidental water — and there will be some, even in a perfect install — has somewhere to go besides the framing.
- Attention to how the window interfaces with whatever siding is going over it, since a great flashing job can still fail if the siding trade laps it backwards.
Getting the Flashing and Water Management Right
Sill Pan Flashing
The sill pan is the single most important detail in a new-construction window install, and it's the one most often shortcut on production builds. A sloped or dammed sill pan under the window collects any water that gets past the sash or frame and directs it back out — instead of letting it pool on the rough sill and soak into the framing. In a climate with as many wet months as ours, this is not optional detail work; it's the difference between a window opening that dries out and one that slowly rots from the inside.
Weather-Resistive Barrier Integration
The house wrap or weather-resistive barrier (WRB) has to be sequenced with the window flashing using proper shingle-lap order — bottom first, then sides, then top — so that water draining down the wall always sheds over the next layer instead of behind it. Get this order backwards even once and you've built a funnel pointing water into the wall assembly.
Head Flashing
Head flashing above the window, integrated with the WRB and (where applicable) a drip cap, keeps water from tracking down the face of the wall and finding the top of the window frame — which is one of the more common failure points we find when we're called in to diagnose a leak in a home that's only a few years old.
Choosing the Right Window for a Bellevue Build
Frame material and glazing package both affect how a window performs against Northwest weather over the long run, and they affect the maintenance burden the homeowner takes on afterward. There's no single "best" choice for every project — it depends on budget, the home's design, and how much upkeep the owner wants to sign up for.
| Frame Material | Moisture Resistance | Maintenance | Best For |
|---|---|---|---|
| Vinyl | Good — won't rot, but can warp under sustained heat/cold cycling | Low | Budget-conscious builds, rental and spec construction |
| Fiberglass | Excellent — stable in wet and temperature swings | Low | Long-term owners who want minimal upkeep with strong performance |
| Wood-Clad | Good on the exterior clad face; interior wood needs upkeep | Moderate to high | Homeowners who want a wood interior look and are willing to maintain it |
| Aluminum | Fair — prone to condensation without thermal breaks | Low | Modern designs, commercial-style openings; needs a thermally broken frame here |
We're honest with builders and homeowners about trade-offs rather than pushing one product line. If a client wants a wood-interior look, we'll install it — but we'll also walk them through the maintenance schedule that comes with it in a climate where exterior wood surfaces stay damp for long stretches. If low maintenance is the priority, fiberglass or vinyl with a quality glazing package usually makes more sense for this area.
Glazing and Energy Performance
Washington's energy code sets minimum U-factor requirements for new-construction glazing, and King County jurisdictions enforce it at permit and inspection. Beyond meeting code, we generally recommend double-pane, low-E glazing with a U-factor comfortably under the code max for this climate zone — it pays off in comfort near the glass on cold, damp mornings and cuts down on interior condensation, which is a common complaint in tightly built new homes during our wetter months.
Meeting Code and Passing Inspection
New-construction window installs in Bellevue go through the same permitting and inspection process as the rest of the building envelope. That means:
- Egress-sized windows in every bedroom, per code — sill height, opening area, and clear width all get checked.
- Energy code compliance on glazing performance, documented for the building department.
- Safety glazing (tempered) in required locations — near doors, low sills, wet areas — which is easy to miss on a busy framing schedule.
- Flashing and weatherization details that hold up to a builder's or inspector's visual check, since a poorly flashed opening is one of the more common items flagged at rough-in.
We coordinate directly with builders and, when needed, with the inspector's expectations for this jurisdiction so window rough-in doesn't become the item that holds up a framing or weatherization inspection.
How Window Installation Fits Into the Build Sequence
Timing matters as much as technique. Windows generally go in after the rough openings are framed and the WRB is on the walls, but before siding starts — which means the crew installing the windows has to communicate cleanly with the framing crew ahead of them and the siding crew behind them. A few sequencing points that matter on Bellevue jobs:
- Rough openings get checked for square and correct dimension before the window ever shows up on site — a window that's slightly out of square gets forced into place and never seals right.
- WRB goes on and gets flashed at the sill before the window is set, not after.
- Windows are set, shimmed level and plumb, and fastened per the manufacturer's installation instructions — which matters for the warranty as much as for performance.
- Head and jamb flashing tie into the WRB immediately, before the opening sits exposed through a rain event.
- Siding is sequenced to lap correctly over the flashing once it's installed, closing out the water-management path from roofline to foundation.
Because we install siding as well as windows, we plan this handoff as one continuous system rather than two separate trades working off different assumptions about who's covering what detail.
Our New-Construction Window Process
On a typical Bellevue new-build or addition, our process looks like this:
- Review plans and rough openings with the builder before framing is finalized, to catch sizing or structural issues early.
- Verify each rough opening on site for square, level, and correct dimension.
- Install sill pan flashing on every opening, sequenced properly with the WRB.
- Set windows per manufacturer specification — correct fastener type, spacing, and shim placement.
- Complete head and jamb flashing, tied into the surrounding weather-resistive barrier.
- Walk the openings with the builder or homeowner before siding closes them in, so any question gets answered while the flashing is still visible.
Why Hire a Crew That Already Works Bellevue Projects
A window installer who works regularly in this area already knows what King County inspectors look for, how Bellevue's mix of new builds and additions tend to be sequenced, and how this specific climate punishes shortcuts that might get away with it somewhere drier. That local pattern-recognition is worth more than it sounds — it's the difference between catching a flashing detail that's wrong on day one versus finding it three years later as a stain on the drywall below the window.
We also install the siding that laps over these windows on many of the same projects, which means there's no gap between trades where responsibility for a leak gets pointed back and forth. One crew, one accountable installation from sheathing to finished siding.
If you're framing a new home or addition in Bellevue and need window installation done right the first time, we're happy to take a look at your plans and give you a straightforward, no-pressure estimate. Fill out the form below and we'll follow up to talk through your project.