 Seattle Siding
 Columbia City has seen a steady wave of new builds, infill homes, and ADUs going up alongside its older housing stock, and the window package on any of these projects only gets one chance to be done right. Once siding, trim, and house wrap close in around a window opening, mistakes in flashing or fit become expensive, invisible problems that surface as rot, mold, or drafts years later. In a city where driving rain off Puget Sound, persistent marine humidity, and a moss season that can stretch from October through May put constant pressure on building envelopes, new-construction windows need to be installed with a level of discipline that a lot of general framing crews simply aren't set up to deliver.
This page covers what we look at specifically for new-construction window installs in Columbia City — not a general "we install windows" pitch, but the actual technical and logistical details that separate a window package that performs for thirty years from one that starts leaking behind the trim in year three.
New-Construction Windows Are Not the Same Job as Replacements
A lot of homeowners planning a build or an addition assume window installation is window installation. It isn't. New-construction windows are built with a nailing fin (sometimes called a nail flange) around the perimeter of the frame, designed to be integrated directly into the wall's water-resistive barrier and flashing system before siding goes on. Replacement windows, by contrast, are typically pocket units installed into an existing, already-flashed opening with no fin at all.
That distinction matters because a nail-fin window's entire moisture performance depends on how it's sequenced into the wall — the order of the house wrap, flashing tape, sill pan, and siding around it. Get that sequence wrong and the window itself can be a premium product and still leak. This is why we treat new-construction installs as a wall-assembly problem first and a window product problem second.
Where This Trips Up Builders
On tight-schedule builds, window installation often gets rushed to keep the project moving toward drywall. We've seen sill pans skipped, corner flashing patches cut short, and house wrap lapped backward — all invisible until the first real Pacific Northwest storm finds the gap.
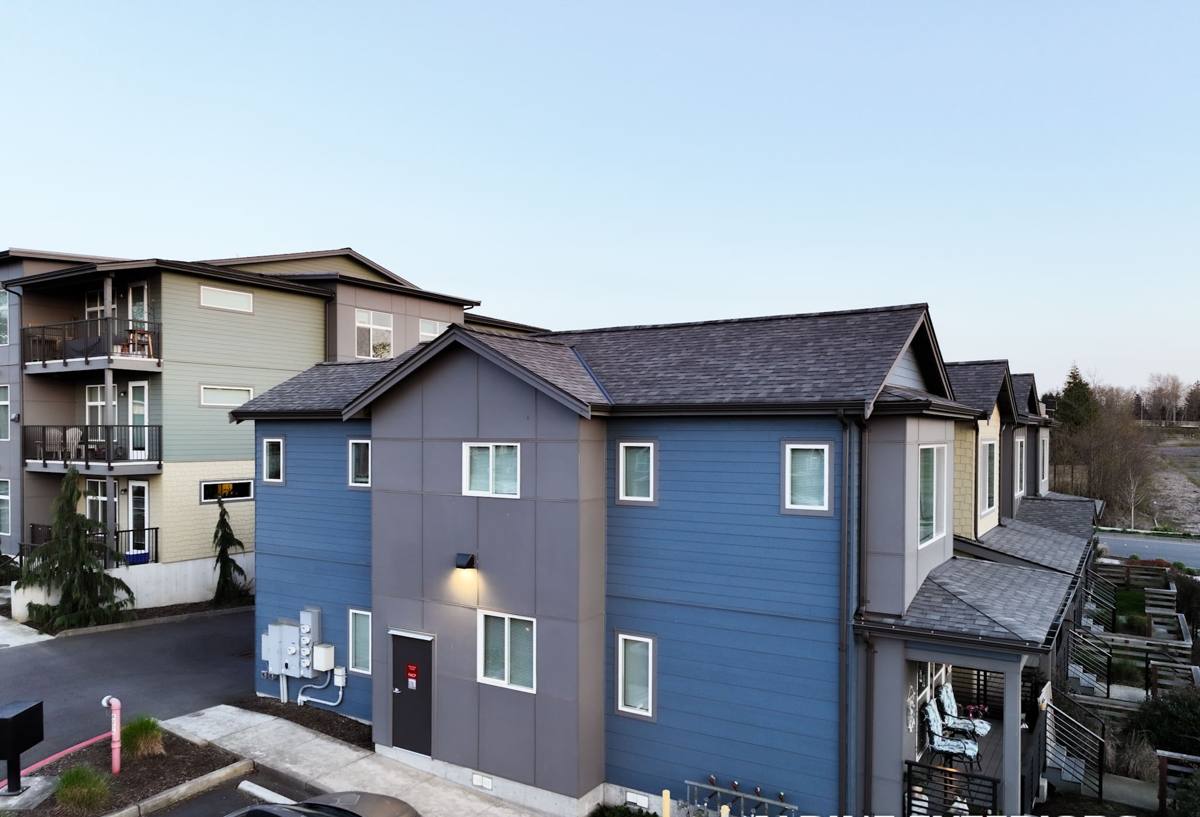
What Seattle's Climate Actually Demands From a Window Install
King County's marine climate is mild, but mild doesn't mean gentle on a building envelope. Three things drive how we detail every new-construction opening in Columbia City:
- Driving, wind-blown rain: Seattle's rain rarely falls straight down — wind pushes it laterally into wall assemblies, which is why sill pan flashing and properly lapped flashing tape matter more here than in drier climates.
- Sustained marine humidity: Even without heavy rainfall, ambient moisture sits in the air for months, which means any gap in the water-resistive barrier stays wet longer and gives mold and rot more time to establish.
- A long moss and algae season: Moss doesn't just grow on roofs — it colonizes window sills, trim, and any horizontal surface that stays damp and shaded, which is common on the north and west elevations of homes in tree-covered Columbia City lots. Left unmanaged, it holds moisture against wood trim and finishes.
None of this means new-construction windows need to be exotic or over-built. It means the installation details — flashing laps, sill pan drainage, sealant selection, and drip cap placement — have to be right the first time, because this climate doesn't forgive shortcuts the way a drier region might.
Material and Performance Considerations
Window frame material affects how a unit handles years of damp exposure, not just its upfront price. Here's how the common options stack up for new-construction work in this climate:
| Material | Moisture Performance | Maintenance | Typical Cost Range |
|---|---|---|---|
| Vinyl | Good — won't rot, handles humidity well | Low | Lowest |
| Fiberglass | Excellent — dimensionally stable, low expansion/contraction | Low | Mid to upper-mid |
| Wood-clad (exterior clad, wood interior) | Good if flashing/cladding is intact; wood core is moisture-sensitive if breached | Moderate | Upper-mid to high |
| Aluminum | Durable but thermally conductive; prone to condensation without thermal breaks | Low to moderate | Mid |
We don't push homeowners toward a single brand or material by default. Instead, we walk through how each option's trade-offs line up with the specific project — a rain-exposed west elevation, a shaded north wall prone to moss and algae, or a budget-driven infill build — and let that decide the spec, not a sales script.
The Installation Process We Follow
For every new-construction opening, the sequence matters as much as the product. Our process follows this general order:
- Verify the rough opening is square, level, and sized correctly before the window ever arrives on site.
- Install a sloped sill pan flashing at the base of the opening so any water that gets past the window is directed back outside, not into the wall cavity.
- Integrate house wrap and flashing tape in proper shingle-lap order — sill first, then jambs, then head — so water always sheds downward and outward at every layer.
- Set the window plumb and level, fasten through the nailing fin per manufacturer spec, and check reveal consistency for even sightlines.
- Apply head flashing and, where appropriate, a drip cap to shed water away from the top of the unit before siding closes in around it.
- Seal and insulate the interior perimeter without over-packing insulation, which can bow jambs and cause operational issues.
- Photo-document flashing details before they're covered by siding, so there's a clear record of what's behind the finished wall.
That documentation step matters more than people expect — once siding is up, nobody can see what's underneath it. Having a record protects the homeowner and gives the builder a reference if any question comes up later.
Working With Builders and GCs on Columbia City Projects
Most new-construction window work in this neighborhood happens as part of a larger build — a custom home, an infill project on a subdivided lot, or an ADU behind an existing house. In all of these, we're one trade in a sequence, and timing matters. Windows generally need to go in after the house wrap is up and before siding starts, and delays in either direction can stall the whole exterior schedule.
We coordinate directly with general contractors on install timing, rough opening tolerances, and any changes that come up mid-build — undersized framing openings, revised window schedules, or last-minute product substitutions due to supply timing. Having a crew that's done this coordination on other Seattle-area builds means fewer surprises for the GC and fewer callbacks after the walls are closed up.
Code and Energy Performance Requirements
Washington's state energy code (WSEC) sets minimum performance requirements for windows in new construction, with U-factor being the main metric that matters in our climate — it measures how well a window resists heat loss, which is the primary concern here rather than cooling load. We spec windows to meet or exceed current WSEC requirements as a baseline, then adjust upward for elevations with heavier rain or wind exposure. Permit and inspection requirements apply to new-construction window installs in Seattle, and we build that into project timelines rather than treating it as an afterthought at the end.
What to Check Before Hiring Anyone for This Work
Because so much of a new-construction window install is hidden once siding goes on, homeowners and builders are often trusting a crew's process more than they can verify after the fact. A few things worth confirming before work starts:
- Ask how they handle sill pan flashing and whether they can describe the lap sequence without hesitation.
- Confirm they'll document flashing details with photos before siding covers them.
- Ask about their experience specifically with new-construction (nail-fin) installs, not just replacement windows — the skill sets aren't identical.
- Check that they're comfortable coordinating directly with your GC's schedule, not just showing up whenever.
- Ask what happens if a rough opening is out of square or undersized — a vague answer is a warning sign.
- Confirm licensing and insurance appropriate for construction-trade work in King County.
Why a Crew That Already Works Columbia City Matters
Every neighborhood in Seattle has its own quirks — lot sizes, tree cover, prevailing wind exposure, and the mix of older homes next to new infill builds. A crew that's already worked jobs in and around Columbia City has a working sense of how the local terrain and tree canopy affect moss growth and shaded moisture retention, how older adjacent homes' drainage patterns can affect a new build's site grading, and how permitting and inspection timelines typically run in this part of the city. That local familiarity doesn't replace good technique, but it does mean fewer surprises and a smoother build for everyone involved.
If you're planning new construction or an addition in Columbia City and want windows installed with the flashing, sequencing, and material choices suited to this climate, we're happy to take a look at your plans and walk the site. Reach out for a free, no-pressure estimate — there's a form below to get started.