 Seattle Siding
 New-Construction Windows for Green Lake Homes
Green Lake is one of Seattle's most tree-heavy, moisture-heavy neighborhoods. Between the lake itself, the mature tree canopy along the surrounding streets, and the shade that canopy throws across roofs and siding for much of the year, homes here hold onto damp air longer than homes in more open, sun-exposed parts of the city. That matters a lot when you're installing new-construction windows, because a window opening is one of the most common places water finds its way into a wall assembly. Get the install right and it's a non-issue for decades. Get it wrong and you won't see the problem until there's rot, mold, or a soft spot in the wall — often years later, well after the crew that did the work is gone.
This page is about one job done in one place: new-construction window installation for homes in and around Green Lake. Not window replacement in an existing opening — new construction, where the window goes into a fresh rough opening as part of a new build, an addition, or a full wall reframe.
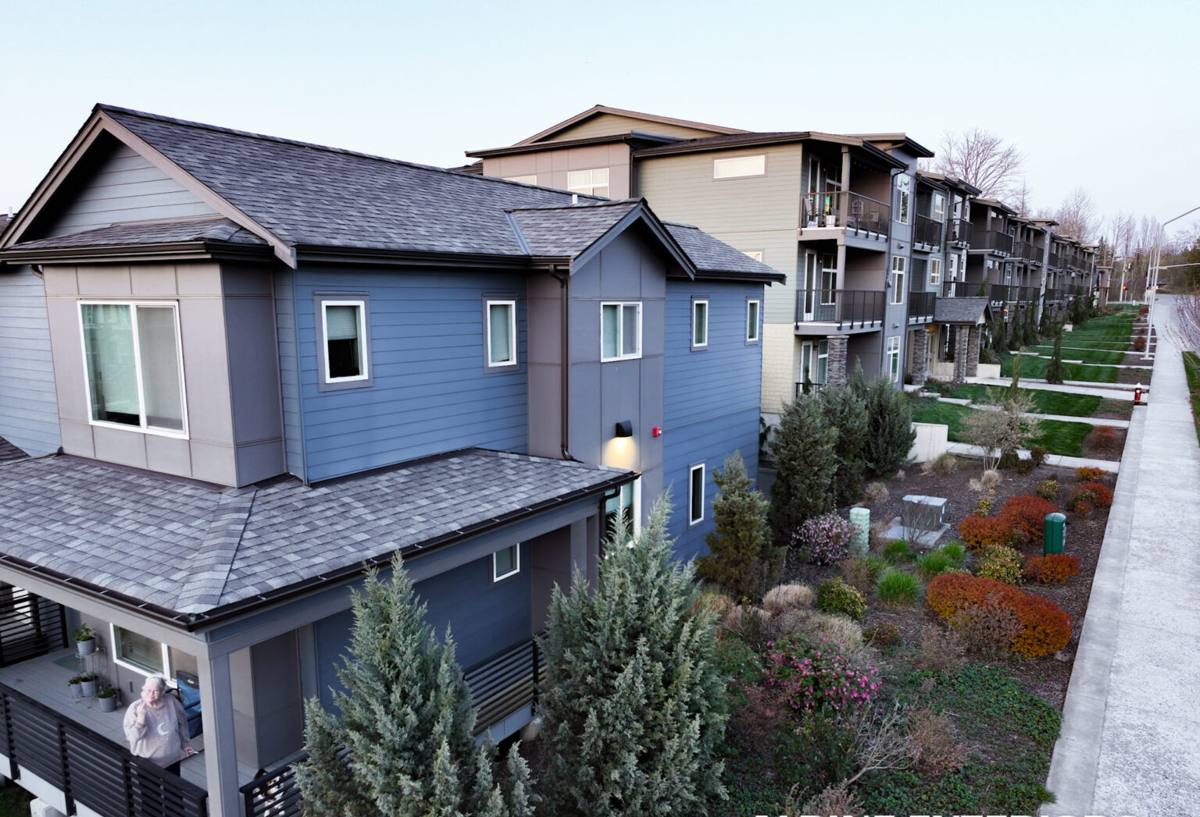
New-Construction vs. Replacement: Why the Distinction Matters
These two jobs get lumped together in casual conversation, but they're built differently and priced differently.
- New-construction windows have a nailing fin around the perimeter of the frame. The fin gets integrated directly into the wall's water-resistive barrier (WRB) and flashing system before siding goes on. This is the correct approach when the wall is open — new builds, additions, or any project where the sheathing is exposed.
- Replacement (insert) windows go into an existing opening with the old frame left in place or trimmed down, and the siding around the opening isn't disturbed. There's no access to the WRB, so the water management relies on sealant and the existing flashing rather than a full integrated system.
If your project has open stud walls right now, or will soon, you want the new-construction approach — it gives you the strongest, most durable moisture seal available, and it's the standard we build to on every Green Lake job where the wall is open.
What Seattle's Climate Demands from a New-Construction Window
King County doesn't get hurricanes or hard freezes, but it gets something harder to defend against over time: sustained, driving rain over long stretches, humidity that never fully clears, and — in shaded, lake-adjacent pockets like Green Lake — a long moss and algae season on any surface that stays damp. Homes closer to Puget Sound also deal with salt-laden air working into hardware and fasteners over time; here around the lake, the bigger day-to-day factor is moisture load and shade rather than salt, but the region's overall wet-marine climate still shapes every material choice we make.
A correctly installed new-construction window in this climate needs to do three things well:
- Shed water before it reaches the framing. Flashing has to be layered so water moving down the wall is directed out and away, never trapped behind the window.
- Handle sustained wind-driven rain, not just vertical rain. Seattle rain frequently comes in at an angle. Sealant alone won't hold up to that over 15-20 years — the mechanical flashing detail is what actually does the work.
- Resist the buildup that comes with shade and moisture. Frame material and finish matter here — some materials handle prolonged dampness and organic growth on sills and tracks far better than others.
What a Correct New-Construction Install Actually Involves
This is where most of the real quality difference between contractors shows up — and almost none of it is visible once the siding goes back on. A homeowner touring a finished job can't tell if the flashing was done right. That's exactly why it matters who does it.
The sequence we follow
- Rough opening check. Confirm the opening is square, level, and sized correctly before the window ever gets set — shimming a poorly framed opening later causes long-term stress on the frame and hardware.
- Sill pan flashing. A sloped, sealed pan at the bottom of the opening so any water that does get past the window has a path back outside instead of pooling on the sill.
- WRB integration. The housewrap is cut, folded, and layered around the opening in the correct shingle-lap order — this is the single most common step that gets rushed or skipped on lower-quality installs.
- Setting the window and fastening the nailing fin through the WRB into the sheathing, per the manufacturer's fastening pattern.
- Flashing tape over the fin on the sides and top, lapped correctly with the WRB above it, so water always drains down and over, never behind.
- Interior air sealing and insulation around the frame gap — this affects both energy performance and condensation risk on the interior side of the frame.
- Exterior trim and sealant as the final, visible layer — the backup, not the primary defense.
Every one of these steps has a "shortcut version" that looks identical from the outside and fails five to ten years later. We don't skip steps to save an hour on a job.
Frame Material Comparison for This Climate
There's no single "best" window material — it's a real trade-off between upfront cost, maintenance, and how the material holds up to sustained damp shade like you get around Green Lake.
| Material | How it handles our climate | Maintenance | Relative cost |
|---|---|---|---|
| Vinyl | Good moisture resistance, won't rot; can flex slightly in temperature swings | Low — occasional cleaning | $ |
| Fiberglass | Very stable dimensionally, strong resistance to moisture and UV | Low | $$ |
| Wood-clad | Warm interior look; exterior cladding protects wood from rain if detailed correctly | Moderate — watch cladding seams and interior wood over time | $$$ |
| Aluminum | Durable frame but conducts cold and can condensate in our damp winters without a thermal break | Low, but check thermal break performance | $$ |
For most Green Lake homes we recommend vinyl or fiberglass for exterior-exposed, shaded elevations, and reserve wood-clad for homes where the interior look is a priority and the design includes real roof overhang or other rain protection. We'll walk your specific elevations with you rather than defaulting to one answer for the whole house.
Our Process
We keep this straightforward because window openings don't leave much room for guesswork:
- On-site visit — we look at the actual openings, framing stage, and exposure of each elevation before quoting anything.
- Product selection — we go over frame material, glass package, and performance ratings suited to how exposed or sheltered each window is.
- Written scope — what's included, flashing method, and timeline, before any work starts.
- Install — following the sequence above, on every window, every time, not just the ones facing the street.
- Walkthrough — we go over the finished openings with you so you know what was done and why.
Why a Crew That Already Works Green Lake Matters
Window flashing isn't a one-size-fits-all detail — it depends on wall assembly, siding type, and how exposed a given elevation is to weather. A crew that regularly works Green Lake and the surrounding Seattle neighborhoods has already seen how these homes are typically framed, how the older housing stock in the area was built versus newer infill construction, and where moisture tends to collect on lake-adjacent, tree-shaded lots. That's not something you get from a crew that mostly works drier, more open parts of King County and treats every Seattle job the same as a job somewhere else.
It also means someone local answers the phone if a question comes up after the job is done — not a call center for a company based somewhere else entirely.
Questions worth asking any contractor before you hire
- Do you install a sloped sill pan on every window, or only when asked?
- How do you integrate the housewrap around the opening — can you describe the lap order?
- What flashing tape or membrane do you use, and is it compatible with our WRB?
- Do you warranty the installation separately from the manufacturer's product warranty?
- Can you show me how you'd detail a shaded, north-facing elevation differently from a sun-exposed one?
If a contractor can't answer these clearly, that's worth knowing before the wall gets closed up.
Moss Season and Long-Term Upkeep
New-construction windows installed correctly need very little from you, but Seattle's long wet season still calls for a couple of habits:
- Clear debris and moss buildup from sills and tracks before it holds moisture against the frame.
- Check exterior sealant lines yearly, especially after the first full winter, and have any cracked sealant redone — sealant is a backup layer, not the primary seal, but it's still worth maintaining.
- Keep gutters and downspouts clear near window headers so water isn't dumping directly onto the wall above an opening.
None of this is heavy maintenance — it's the kind of thing that takes twenty minutes a year and heads off bigger problems down the line.
If you've got a new-construction project in Green Lake — an addition, a reframe, or ground-up build — we're glad to walk the openings with you and give you a straightforward, no-pressure estimate. Use the form below to get started.