 Seattle Siding
 Windows in Rainier Valley Work Harder Than Most
Rainier Valley is one of Seattle's older, more established residential neighborhoods, with a housing stock that spans early-20th-century bungalows, mid-century ramblers, and newer infill construction sitting side by side on the same block. That mix means there's no single "standard" window replacement here — an original wood-sash window from the 1920s and a builder-grade vinyl unit from the 1990s fail in different ways and need different fixes.
What every home in this part of King County does share is exposure to the same weather pattern: long stretches of driving rain, humid marine air off Puget Sound, and short winter days that leave siding and window trim damp for months at a time. Add in a moss season that can run from fall through spring, and you've got conditions that punish any window installation that cuts corners on flashing, sealing, or drainage. A window that would be fine in a drier climate can fail here in a few years if it wasn't installed with this specific weather in mind.
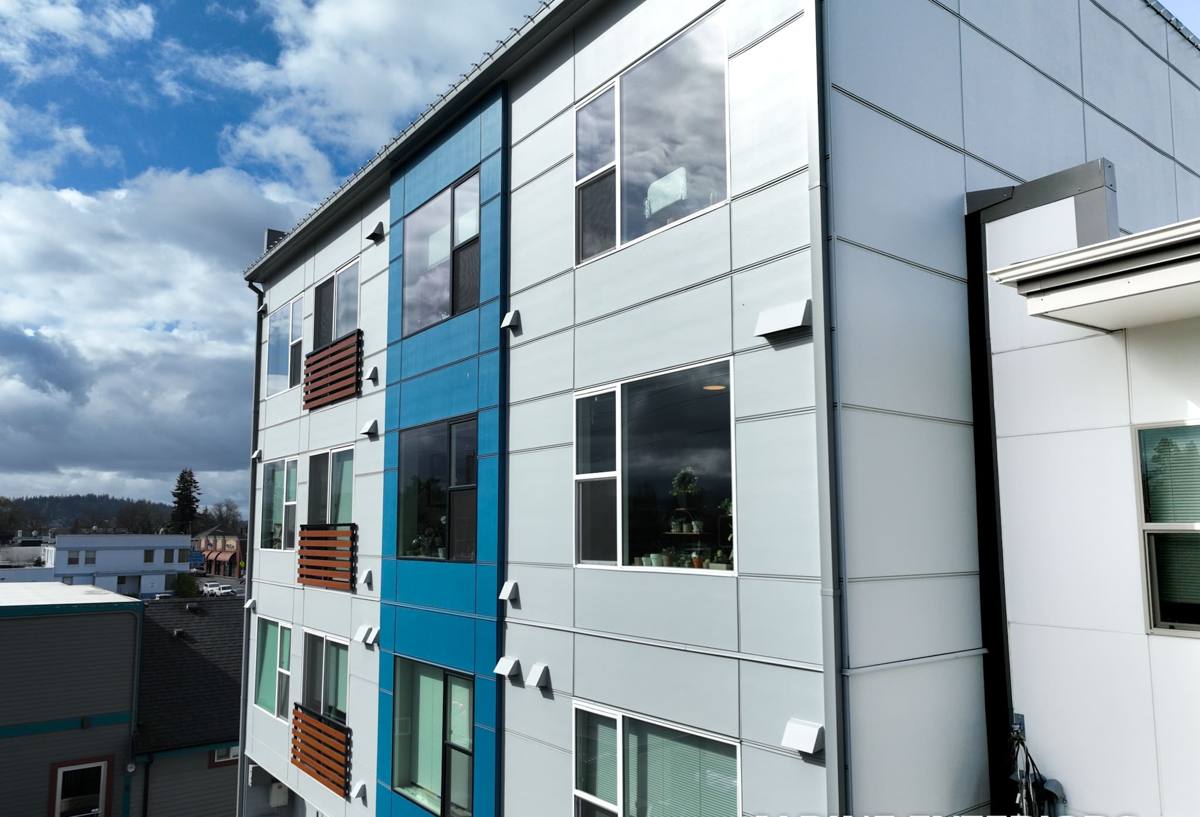
Signs a Rainier Valley Home Needs Window Attention
Because so much of the damage from wet-climate window failure happens behind the trim and inside the wall cavity, homeowners often don't notice a problem until it's already caused rot. Here's what we look for, and what you can check yourself:
- Fogging or moisture between panes of double-glazed glass — the seal has failed and the insulating gas has escaped
- Soft or discolored wood trim around the window frame, especially at the bottom corners where water collects
- Visible gaps between the window frame and siding, or caulk that's cracked and pulling away
- Drafts you can feel with a hand near the frame on a windy day
- Windows that are difficult to open, close, or lock — a sign the frame has swelled or shifted
- Moss or dark streaking on the sill or the wall just below the window, which usually points to water running down the face of the house instead of shedding away from it
- Rising heating bills without a clear explanation
Any one of these on its own might not mean a full replacement is needed. But when a window shows two or three of these signs together, the frame or the wall behind it is usually already taking on water, and waiting rarely makes the repair smaller.
What a Correct Window Installation Actually Involves
Window installation has a reputation as a simple swap — old window out, new window in. In a marine climate, that reputation is exactly what causes problems. The window unit itself is only part of the job; the flashing and sealing details around it are what actually keep water out over the long run.
The parts that matter most
A correct installation builds a layered drainage path so that any water that gets past the outer seal — and some always will, over enough years of Seattle rain — has somewhere to go besides into your wall framing. That means:
- Removing old caulk, trim, and flashing completely rather than sealing over it
- Checking the sheathing and framing underneath for rot or moisture damage before the new unit ever goes in
- Installing sill pan flashing so water that reaches the bottom of the frame drains back outside instead of pooling
- Layering house wrap or building paper and flashing tape in the correct shingle order — top piece overlapping the one below it, always
- Setting the window plumb, level, and square, then shimming and fastening it per the manufacturer's instructions so the frame doesn't rack out of shape over time
- Sealing the interior and exterior with the right sealant for each surface, and insulating the gap between the frame and the rough opening without overpacking it
Skip any one of these steps and the window can look fine from the curb for a year or two while water quietly works its way into the framing behind it. That's the kind of damage that turns a window job into a siding and framing repair.
Choosing a Window Type for This Climate
There's no single "best" window for every Rainier Valley home — the right choice depends on your home's age, your budget, and how much upkeep you want to take on. Here's an honest comparison of the frame materials we're most often asked about:
| Frame Material | How It Handles Wet Weather | Maintenance | Best Fit |
|---|---|---|---|
| Vinyl | Won't rot; performs well if installed with proper drainage detailing | Low — occasional cleaning | Most replacement projects on a budget |
| Fiberglass | Very stable in temperature and moisture swings; holds paint well | Low to moderate | Homeowners wanting a longer-term, lower-movement frame |
| Wood | Classic look but needs a sound exterior cladding or clad finish to resist our rain season | Higher — periodic painting or finish upkeep | Historic-style homes where matching original character matters |
| Aluminum | Durable but conducts cold and can condense in our damp winters without a thermal break | Low | Specific architectural or commercial-style applications |
We don't push wood-frame replacements as a default in this climate unless the home's design calls for it, or the frame is clad on the exterior. Bare exterior wood asks a lot of a homeowner in a neighborhood that sees this much sustained rain and humidity — it's not that wood windows are a bad product, it's that they carry a maintenance commitment that vinyl and fiberglass simply don't.
Our Installation Process
The steps don't change much from house to house, but the details we pay attention to at each step do, depending on the home's age and condition:
- On-site assessment — we look at your existing windows, the condition of the surrounding trim and siding, and take accurate measurements for each opening.
- Product selection — we walk through frame material, glass options, and style so the choice fits your home and your budget, not just what's easiest to install.
- Removal and inspection — old windows come out carefully, and we check the rough opening and sheathing for any hidden moisture damage before moving forward.
- Flashing and drainage prep — sill pan flashing, house wrap integration, and tape go in before the new window ever touches the opening.
- Installation — the window is set, shimmed, and fastened to manufacturer specifications, checked for square and level.
- Sealing and insulation — appropriate interior and exterior sealants, plus properly fitted insulation around the frame.
- Trim and finish work — interior and exterior trim reinstalled or replaced, with final caulking.
- Walkthrough — we test every window for smooth operation and go over care basics before we consider the job done.
Cost Factors for Rainier Valley Window Projects
Every home is different, so we won't quote a number without seeing your windows in person — but these are the main factors that move a project up or down in cost:
| Factor | Why It Matters |
|---|---|
| Number and size of windows | More openings and larger units mean more material and labor |
| Frame material chosen | Vinyl typically costs less upfront than fiberglass or clad-wood units |
| Condition of the rough opening | Hidden rot or framing damage adds repair work before installation can proceed |
| Window style | Custom shapes, large picture windows, or bay/bow configurations take more labor than standard double-hung or slider replacements |
| Glass package | Upgraded glass (extra panes, coatings) adds cost but can improve comfort and efficiency |
| Trim and siding disruption | Homes needing trim or siding repair around the opening add to the scope |
The honest answer for most homeowners is that the window unit itself is often a smaller share of the total cost than people expect — the labor and detailing around it, especially on an older home, is where a correct job earns its price.
Why Local Experience in Rainier Valley Matters
A crew that regularly works this neighborhood already has a feel for its housing stock — the difference between a home built with old-growth framing lumber and one built during a later infill wave, and how each responds to having a window opening disturbed. That familiarity shortens the guesswork on-site and helps us flag issues, like hidden moisture or an out-of-square opening, before they become surprises mid-project.
Local experience also means understanding how Seattle's permitting requirements and King County building code apply to window replacement, particularly on older homes where the original opening or header may not meet current standards. A contractor unfamiliar with the area may not think to check this until it stalls the project.
Finally, there's simple accountability. A company that works Rainier Valley regularly is going to be back in the neighborhood next month and next year — which is exactly the kind of incentive that keeps a crew doing the flashing and sealing details right the first time, rather than the fast way.
Living With New Windows Through the Wet Season
A correctly installed window shouldn't need much from you, but a few habits go a long way in this climate:
- Rinse pollen, moss spores, and grime off the glass and frame a couple of times a year — buildup holds moisture against the surface longer than it should sit
- Check exterior caulk lines once a year, usually before the fall rains set in, and have any cracking resealed promptly
- Keep gutters and downspouts clear so roof runoff isn't sheeting down across window heads
- Trim back vegetation that shades a window or wall for long stretches — reduced airflow and sun exposure is part of what accelerates moss growth on siding and trim
- Operate locks and hardware periodically, even on windows you rarely open, so mechanisms don't seize up over a damp winter
None of this requires special products or a maintenance contract — it's the same basic upkeep that protects any exterior feature on a Puget Sound-area home.
If your Rainier Valley home has windows showing any of the signs above, or you're simply ready to stop fighting drafts and fogged glass, we're happy to take a look and put together a straightforward, no-pressure estimate. Use the form below to get started.