 Seattle Siding
 New-Construction Windows Are a Different Job Than Replacement
When people hear "new-construction windows," they sometimes picture the same window as a replacement, just installed in a newer house. That's not quite right, and the distinction matters. A new-construction window has a nailing flange built into the frame and gets installed into a bare, open rough opening before siding, house wrap, or interior finish go on. A replacement window gets fitted into an existing, already-finished wall. The sequencing, the flashing details, and the margin for error are completely different between the two.
In Ravenna, we see this work most often on additions, second-story pop-tops, garage-to-living-space conversions, and the occasional full teardown-rebuild on an older lot. The neighborhood's mix of early-1900s homes and newer infill construction means we're frequently working alongside a general contractor mid-build, not walking into a finished house. That changes what "doing it right" looks like, and it's worth understanding before you hire anyone for the job.
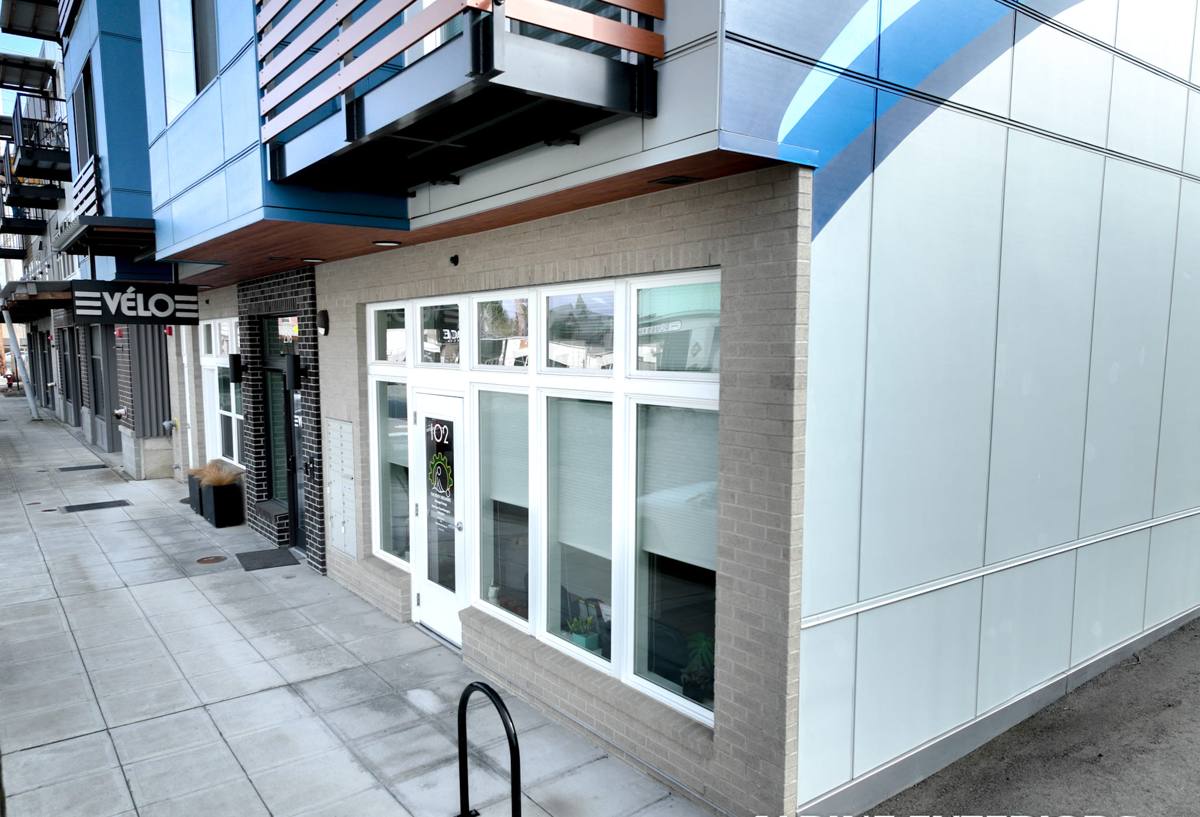
What Seattle's Climate Actually Does to a Window Opening
Western Washington's weather isn't dramatic, but it's relentless, and that's what wears down a poorly built window opening over time. King County gets long stretches of driving, wind-pushed rain rather than short downpours, which means water gets forced sideways into gaps that a drier climate would never test. Add in salt-laden air drifting off Puget Sound and Lake Washington, and any exposed fastener or unprotected metal component starts corroding years before it should. Then there's moss — Seattle's moss season runs most of the year on north-facing walls and shaded rooflines, and it holds moisture against siding and trim far longer than most homeowners realize.
None of that is unique to Ravenna, but it's the baseline every new-construction window in this region has to be built to handle. A window that's rated fine for a drier climate can still fail here if the flashing and drainage details around it aren't done correctly, because the window itself is rarely the weak point — the opening around it is.
Why the Rough Opening Matters More Than the Window Itself
A quality window installed with sloppy flashing will leak. A mid-grade window installed with correct flashing, sill pan drainage, and proper integration into the house wrap will hold up for decades. We say this to every builder and homeowner we work with because it's the single most common source of callback problems in this trade — not defective windows, but water finding a path around them.
What a Correct New-Construction Install Involves
There's a specific sequence to this work, and skipping steps is how you get hidden rot that doesn't show up for five or ten years. On every new-construction opening, the work generally includes:
- Verifying the rough opening is square, level, and sized correctly before the window ever shows up on site
- Installing a sloped sill pan so any water that gets past the window drains back outward, not into the wall cavity
- Flashing the sill, jambs, and head in the correct shingle-lap order so water always sheds downward and outward
- Integrating the flashing with the house wrap using a proper lap sequence, not just tape over a seam
- Setting the window plumb, level, and square in the opening and fastening through the nailing flange per the manufacturer's schedule
- Sealing and insulating the gap between the frame and rough opening without over-packing it, which can bow the frame
- Installing head flashing or a drip cap above the window before siding closes it in
Every one of those steps has to happen before the wall gets closed up. Once siding and interior drywall are in, a flashing mistake is invisible — and expensive to trace and fix — until a leak eventually shows up somewhere else on the wall.
Choosing Materials That Hold Up in King County
New construction gives you a real choice of frame material, since you're not constrained by an existing opening. Here's how the common options generally perform in our climate:
| Frame Material | Moisture Performance | Maintenance | Typical Use Case |
|---|---|---|---|
| Vinyl | Good — won't rot, but expands/contracts with temperature swings | Low | Value-focused builds, additions, rental construction |
| Fiberglass | Excellent — very stable, minimal expansion, handles moisture cycling well | Low | Higher-end new builds, exposed or weather-facing walls |
| Wood interior / clad exterior | Good if detailed correctly — the exterior cladding protects the wood core | Moderate — interior wood may need periodic finish work | Homes matching a traditional or craftsman look, common in older Ravenna-style construction |
| Aluminum | Poor for this climate without thermal breaks — conducts cold and can condense | Low, but performance issues if underspecified | Rarely recommended here except in specific architectural applications |
We don't push one brand or material on every job. The right call depends on the wall's exposure, the home's design, and the builder's budget. What we do insist on is that whatever frame goes in gets flashed and integrated correctly — that's the part that determines whether the window is still performing well in fifteen years.
Energy Code and Egress: The Rules You Can't Skip
Washington's energy code sets minimum performance requirements for new-construction windows, and King County permitting will check for U-factor and solar heat gain compliance on new builds and additions. Beyond energy performance, bedrooms in new construction or converted living space typically require an egress-compliant window — meeting minimum opening size, sill height, and clear-opening dimensions so it can serve as a fire escape route. These aren't optional extras; they're inspected items, and getting them wrong means pulling windows back out after the fact.
We size and spec windows against these requirements up front, before ordering, so there are no surprises at final inspection. This is a place where experience with local permitting actually saves a project time and money, not just paperwork headaches.
How We Work With Builders and Homeowners in Ravenna
Most of our new-construction window jobs come in through a general contractor mid-project, though we also work directly with homeowners managing their own addition or build. Either way, the process looks roughly the same:
- We review the plans and rough openings before the windows are ordered, catching sizing or spec issues early
- We coordinate delivery timing with the builder's framing and house-wrap schedule so windows go in at the right point in the sequence
- We flash and install each opening to the standard described above, documenting details where the builder or inspector wants a record
- We walk the finished install with the homeowner or GC before the wall closes up, since that's the last point where flashing issues are easy to see and fix
Being available on a builder's actual schedule — not just whenever we get around to it — is what makes this workable on an active job site. Delays on window installation hold up siding, hold up drywall, and hold up everything downstream.
What Drives the Cost of a New-Construction Window Package
Costs vary a lot by project size and finish level, but the main factors are consistent:
| Factor | Why It Affects Cost |
|---|---|
| Frame material | Vinyl, fiberglass, and clad-wood sit at different price tiers, with fiberglass and wood-clad typically costing more |
| Window size and count | Larger openings and higher window counts increase both material and labor cost |
| Wall exposure | Weather-exposed elevations may warrant upgraded flashing details, which adds labor time |
| Special shapes or operating styles | Casements, custom shapes, and large sliding or lift units cost more than standard double-hungs |
| Site access and timing | Coordinating around a tight builder schedule or difficult site access can affect labor cost |
We'll walk through actual numbers once we've seen the plans or the framed openings — broad online estimates rarely reflect what a specific Ravenna lot and build actually needs.
A Practical Checklist Before You Sign Off on Any New-Construction Window Job
- Ask whether sill pan flashing is included as standard, not an upgrade
- Confirm who is responsible for house wrap integration — the window installer or the siding crew — so nothing falls in a gap between trades
- Check that egress and energy code requirements were verified against the actual window specs before ordering
- Ask to see the flashing before the wall is closed in, even just photos if you can't be on site
- Get the frame material and manufacturer in writing, not just "vinyl window" with no further detail
- Confirm lead times — custom sizes and certain materials can take weeks to arrive, which affects the builder's schedule
Why Local Experience in Ravenna Actually Matters Here
Ravenna's lots and homes vary — narrow infill sites, older homes with additions grafted on, and a fair number of steep or tree-shaded yards that hold moisture longer than open lots. A crew that regularly works this part of Seattle already knows how the neighborhood's typical wall assemblies, siding types, and lot conditions affect window flashing decisions, and knows which local inspectors focus on which details at final. That familiarity shows up as fewer surprises mid-project and fewer callbacks after the siding's closed in — which, on a new-construction job, is exactly when you want problems caught, not after everyone's moved on.
If you're planning an addition, a new build, or a conversion project in Ravenna, we're happy to look at your plans or framed openings and give you a straight read on what the window package should include. There's no pressure and no cost to get an estimate — the form below is the easiest way to start.