 Seattle Siding
 Siding Installation Built for Wallingford's Climate
Wallingford sits in one of Seattle's older, established residential pockets — a neighborhood of mostly early-1900s craftsman and bungalow-style homes mixed with newer infill construction, tree-lined streets, and the hilly terrain typical of north Seattle. That combination matters more than most homeowners realize when it comes to siding. Older homes often carry siding that's outlived its service life or was covered over decades ago with a product never intended for the Pacific Northwest. Newer construction sometimes has siding installed to a builder-grade minimum, not a standard built for King County's wet-side climate. Either way, a siding installation in Wallingford has to account for local conditions from day one, not just match whatever was there before.
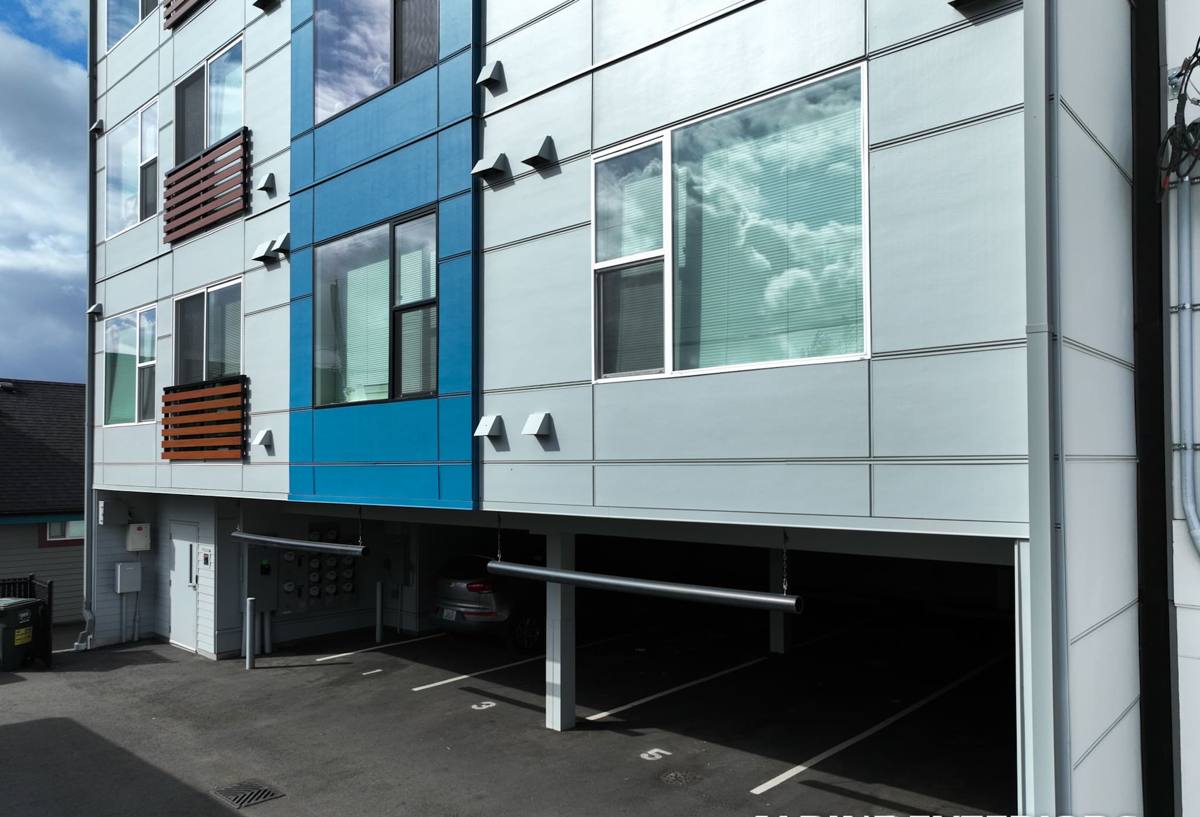
What Seattle's Climate Actually Does to Siding
Wallingford isn't coastal, but it's close enough to Puget Sound and the Sound's marine air layer that salt-laden moisture reaches inland neighborhoods, especially on west- and south-facing walls that catch prevailing weather. Add Seattle's long, wet fall-through-spring stretch and you get three specific stresses that siding here has to handle:
- Salt air corrosion — airborne salt accelerates rust on exposed fasteners, flashing, and lower-quality trim hardware, which shows up as staining and eventually as failure points where water gets behind the siding.
- Driving rain — Seattle's rain isn't usually torrential, but it's frequent, wind-driven, and long-duration. That drives moisture sideways into laps, seams, and butt joints that a drier climate's siding details were never built to resist.
- Extended moss and algae season — shade from mature trees, high humidity, and short winter daylight hours give moss, mold, and algae a long window to establish on north-facing and shaded walls, which holds moisture against the siding surface for months at a time.
None of this means siding fails quickly in Wallingford. It means the wrong product, or the right product installed with shortcuts, fails years before it should — and usually behind the surface, where you don't see it until there's already damage to the sheathing underneath.
Why We Only Install James Hardie Fiber Cement
We install James Hardie fiber cement siding exclusively. We don't install vinyl, LP SmartSide, primed spruce or cedar, or fiber cement alternatives like Cemplank or Allura. That's not a marketing position — it's a standard we hold because of what we see on Seattle-area homes over time.
Fiber cement is non-combustible, which matters increasingly for insurance and building code conversations in Washington. More directly relevant to Wallingford: Hardie's HZ product lines are climate-engineered, meaning the formulation and factory finish are matched to specific regional moisture and temperature profiles rather than sold as one generic product nationwide. For the Pacific Northwest, that means a product built to hold up to sustained damp exposure without the swelling, delamination, or moss-friendly surface texture that causes problems for wood-based and engineered wood siding products in wet climates.
The factory-applied ColorPlus finish is also a real advantage here specifically. It's baked on under controlled conditions and backed by its own finish warranty, which means less field-painting, better color consistency after Seattle's damp seasons, and a harder surface for moss and algae to grip compared to field-painted or unfinished siding.
What Hardie Gets Right — and the Honest Trade-offs
Fiber cement is heavier and more labor-intensive to install correctly than vinyl or engineered wood, which is part of why installation quality matters so much and why it typically costs more upfront. It requires proper fastening, clearances, and caulking details — skip those and you lose a real part of the product's advantage. That installation sensitivity is exactly why we standardized on one product we install to spec every time, rather than juggling multiple product lines with different rules.
What a Correct Siding Installation Actually Involves
Siding is a system, not just a surface. On a Wallingford home, a correct installation includes:
- A continuous weather-resistant barrier behind the siding, with all seams properly lapped and taped so wind-driven rain can't track behind the cladding.
- Correct flashing at every window, door, and roofline intersection — the single most common failure point we find when we open up older siding in this climate.
- Proper clearance between the bottom of the siding and grade, decks, or paved surfaces, so splash-back moisture and standing winter moisture don't wick into the material.
- Manufacturer-specified fastener type, spacing, and embedment — under-driven or over-driven nails are a leading cause of premature siding failure.
- Correctly caulked and sealed joints at penetrations, corners, and trim, using sealants rated for sustained damp exposure rather than a one-size-fits-all caulk.
Every one of these details is invisible once the job is finished and painted-looking clean. That's exactly why they're the details that separate siding that performs for decades from siding that looks fine for a year or two before problems start showing up behind the walls.
Our Process for Wallingford Homes
1. On-Site Assessment
We walk the exterior, check for existing moisture damage, evaluate what's currently on the walls, and look at how the specific lot — shade exposure, tree cover, wall orientation relative to prevailing weather — should factor into the installation plan.
2. Tear-Off and Substrate Check
We remove the old siding down to the sheathing and inspect for rot, soft spots, or prior water intrusion before anything new goes up. Any damaged sheathing gets addressed before the weather barrier goes on — covering a problem is not an option we work with.
3. Weather Barrier and Flashing
This is the step that determines how the siding performs in Seattle's rain, not just how it looks. We install and detail the weather-resistive barrier and flashing to manufacturer and code specification at every penetration.
4. Hardie Installation
Siding, trim, and fasteners go in per James Hardie's fastening schedule and clearance requirements for our climate zone — not a generic national spec.
5. Final Inspection and Walkthrough
We walk the finished job with the homeowner, checking seams, caulking, and trim lines before considering the project complete.
Signs a Wallingford Home May Need New Siding
| Sign | What It Usually Means |
|---|---|
| Persistent moss or dark streaking on shaded walls | Moisture is sitting against the siding surface longer than the material can shed it |
| Soft or spongy spots when pressed | Water has likely reached the substrate — common on older wood-based siding in this climate |
| Peeling or bubbling paint that returns quickly after repainting | Moisture is moving through the siding from behind, not just weathering the surface |
| Visible warping, cupping, or gapping boards | Typical of wood or engineered wood siding reaching the end of its service life in a wet climate |
| Rust streaking near fasteners or trim | Salt-air corrosion on hardware, often an early indicator of a larger moisture issue |
What Affects the Cost of a Wallingford Siding Job
| Factor | Why It Matters Locally |
|---|---|
| Home size and wall complexity | Craftsman and bungalow homes often have more trim, gables, and dormers than simple rectangular builds |
| Existing siding removal | Multiple layers or damaged sheathing found during tear-off adds scope |
| Access and lot conditions | Mature trees, narrow side yards, and sloped lots common in this neighborhood affect setup and staging |
| Trim and detail package | Matching an older home's existing trim profile takes more time than a plain modern elevation |
| Moisture or rot repair | Addressing what's found behind old siding before installing new siding is not optional |
We give straightforward, honest ranges once we've actually seen the home — we don't quote fiber cement jobs off a phone call, because the variables above genuinely change the number.
Why a Crew That Already Works Wallingford Matters
Siding installation isn't just a product decision — it's a local-conditions decision. A crew that regularly works this part of Seattle already knows how shaded, tree-covered lots behave differently than open ones a few miles away, how older Wallingford homes were typically built and where their trim and flashing details tend to need extra attention, and what King County permitting and inspection expectations look like for exterior work. That familiarity shows up in fewer surprises during tear-off and a tighter, more climate-appropriate installation — not guesswork applied from a generic national playbook.
A Simple Checklist Before You Hire
- Ask what siding product they install and why — and be wary of a contractor who installs "whatever the customer wants" with no standard of their own.
- Ask how they detail flashing and weather barriers, not just what siding brand goes on top.
- Ask whether they inspect and repair sheathing before installing new siding, or just cover what's there.
- Ask for the manufacturer's fastening and clearance specs they follow — a real installer can answer this without hesitation.
- Ask about warranty coverage on both the product and the labor, and get it in writing.
If you're weighing a siding project on a Wallingford home, we're happy to take a look and walk you through what we find — no pressure, no generic phone quote. Use the form below to request a free estimate.