 Seattle Siding
 Why Bellevue Siding Takes More Damage Than It Looks Like It Should
Bellevue's mix of mature tree canopy, hillside lots, and Lake Washington's moderating but moisture-heavy climate creates conditions that are tough on exterior siding, even on homes that look well-maintained from the curb. This isn't a coastal beach town, but the broader Puget Sound region carries a marine layer of humidity and salt-tinged air off the Sound that keeps moisture in the air for most of the year, and that moisture doesn't just fall as rain — it lingers on north-facing walls, under eaves, and behind trim boards long after a storm has passed.
Add in King County's driving rain events, where wind pushes water sideways into seams and joints instead of letting it run straight down, and you get a climate that punishes any weak point in a siding system. Then there's shade. Bellevue neighborhoods with heavy tree cover — a big part of what makes them attractive — also mean siding that never fully dries out between rain events. That's the recipe for a long moss and algae season that can run eight or nine months out of the year on the shadiest exposures.
None of this means siding is doomed here. It means repairs have to account for why the damage happened, not just patch what's visible.
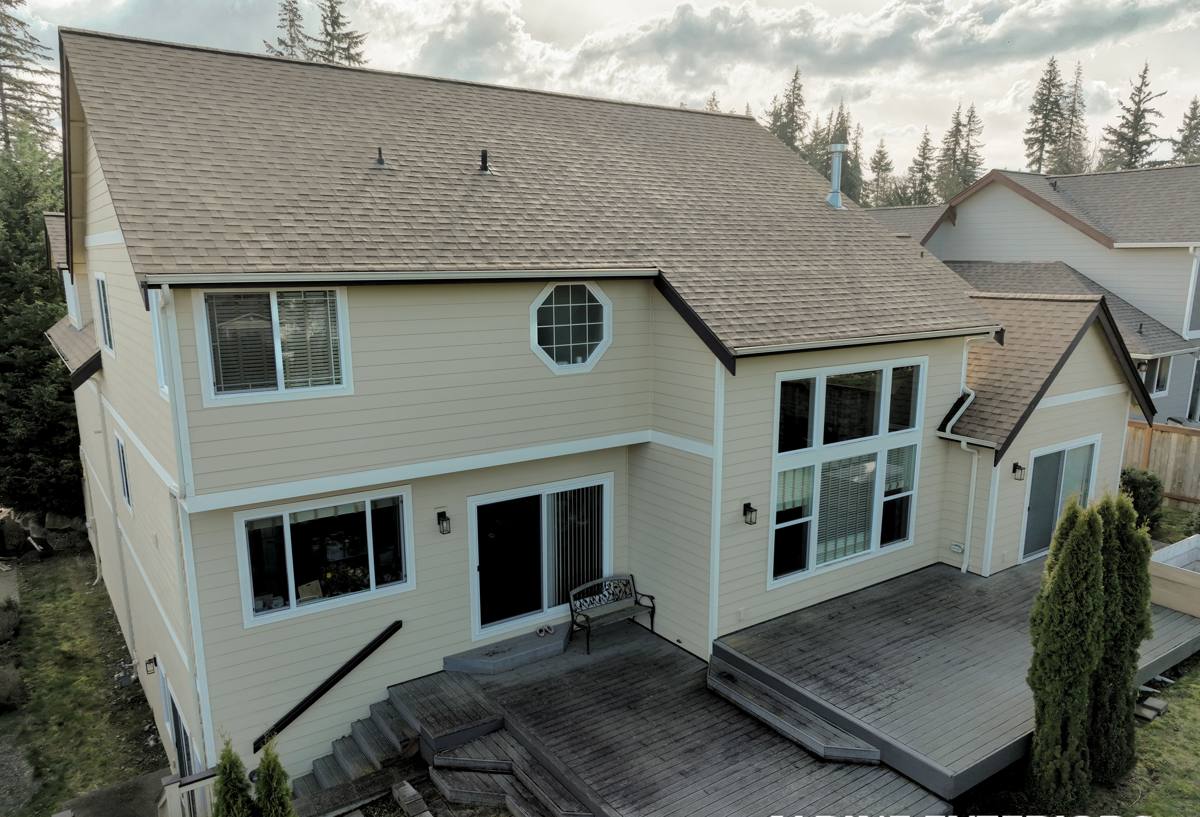
Signs Your Bellevue Home Needs Siding Repair, Not Just Cleaning
A lot of homeowners assume dark streaking or a soft spot near the bottom of a wall is cosmetic. Sometimes it is. Often it's an early warning sign that water has already gotten past the surface. Here's what we look for during an inspection, and what you can check yourself before calling anyone:
- Soft, spongy, or crumbling siding when you press on it, especially near the bottom few feet of a wall
- Dark staining or streaking that keeps returning within weeks of being cleaned
- Visible gaps or separation at seams, corners, and around window and door trim
- Thick moss or algae growth on north- and east-facing walls that stay shaded most of the day
- Paint that's bubbling, peeling, or flaking in a localized area rather than evenly across the whole wall
- Warping, bowing, or waviness in a section of siding when viewed at a low angle
- Damage clustered near roof-to-wall intersections, deck ledgers, or anywhere two building planes meet
- A musty smell or visible mold on the interior wall that shares a wall line with damaged exterior siding
Any one of these on its own might be minor. Two or three together, especially in the same area of the house, usually means water has been getting behind the siding for a while.
What a Correct Siding Repair Actually Involves
A repair that just covers up a damaged section without addressing why it failed is a repair you'll be paying for again in a few years. Done correctly, siding repair in a climate like ours has a few non-negotiable steps.
1. Find the water path, not just the damage
Damaged siding is a symptom. Before we replace anything, we trace how water got in — a failed caulk joint, a missing or damaged flashing, a kick-out flashing that was never installed at a roof-to-wall transition, or house wrap that was torn or improperly lapped during original construction. If we skip this step, the new siding fails the same way the old siding did.
2. Check what's behind the siding
Once damaged boards come off, we inspect the water-resistive barrier (house wrap), the sheathing underneath, and the framing if damage is severe. Soft or delaminated sheathing needs to be replaced before new siding goes back on — covering rotten sheathing with new siding just hides the problem for another few years.
3. Rebuild the drainage details
Proper siding relies on a drainage plane — a system of overlaps, flashing, and gaps that lets any water that does get behind the siding drain back out instead of pooling. This is the piece that generic patch jobs skip most often. We rebuild flashing at windows, doors, and trim intersections as part of the repair, not as an afterthought.
4. Match the material and the finish
Because we install James Hardie fiber cement exclusively, repairs on a home we originally sided — or a home switching over during a repair — use the same HardiePlank, HardieShingle, or HardieTrim profiles and ColorPlus factory finish as the surrounding siding, so the repaired section holds its color and texture the same way the rest of the wall does.
Common Repair Scenarios We See on Bellevue Homes
| What We Find | Likely Cause | What the Fix Requires |
|---|---|---|
| Rot at the bottom of siding near grade or a patio | Siding installed too close to the ground, trapping moisture and soil splash-back | Trim siding to proper clearance, replace damaged material, correct grading if needed |
| Damage clustered around a deck ledger or roof-to-wall line | Missing or failed step and kick-out flashing letting water run behind siding | Remove siding, install correct flashing, rebuild the drainage path before re-siding |
| Heavy moss on shaded north walls | Prolonged shade and moisture from tree cover keeping the surface wet | Clean, treat, and address any trapped moisture; consider trimming back vegetation for airflow |
| Cracked or gapped caulk joints at trim and corners | Original caulk reaching end of service life, wood movement over time | Remove and replace with correct sealant, inspect for water intrusion behind the joint |
| Bulging or wavy siding on a single wall section | Trapped moisture swelling the substrate behind the siding | Remove affected boards, dry and inspect sheathing, replace as needed |
Repair or Replace? How to Tell the Difference
Not every damaged wall needs a full re-side. But a spot repair on a system that's already failing broadly is money spent twice. Here's the honest breakdown we use when we're standing in front of your house.
- Repair makes sense when: damage is limited to one or two isolated areas, the rest of the siding is sound, and the cause (a flashing gap, a bad caulk joint) is a fixable, contained issue.
- Replacement makes more sense when: damage shows up in multiple, unrelated areas of the house, the siding material itself is failing (delaminating, cupping, or crumbling broadly rather than in one spot), or the home still has an older siding product — like untreated wood, older composite panels, or vinyl — that's simply reached the end of what it can be reasonably patched.
- Age matters too: siding nearing or past its expected service life often isn't worth investing repair labor into piece by piece; a full re-side with a longer-lived, climate-appropriate product ends up being the better long-term value.
We'll tell you straight which category your house falls into. A contractor who only offers full re-sides has no reason to recommend a repair when one would do, and a contractor who only does patch work has no incentive to tell you when a full re-side is the smarter money.
Our Repair Process
When you call us for a Bellevue siding repair, here's what to expect:
- On-site inspection. We walk the exterior, check suspect areas by hand, and look at the whole envelope — not just the spot you called about — since damage in one area often points to a systemic issue elsewhere.
- Honest diagnosis. We explain what we found, what likely caused it, and whether it's a contained repair or a sign of bigger issues, in plain language with photos where useful.
- Written scope and estimate. You get a clear, itemized description of the work before anything is scheduled — no surprise add-ons once we've opened up a wall.
- Removal and inspection behind the siding. We don't guess at what's underneath; we open the wall enough to actually see the sheathing and water barrier condition.
- Rebuild the drainage details first. Flashing, house wrap laps, and sealant joints get corrected before any new siding goes back on.
- Install matching Hardie material. New boards, trim, or shingles go in using proper fastening and clearances per manufacturer spec, finished to match your existing ColorPlus color where applicable.
- Final walkthrough. We review the completed work with you before we consider the job done.
Why We Rebuild Repairs With James Hardie Materials
We install James Hardie fiber cement siding exclusively, and that includes repair work. When a repair calls for new boards or trim, using Hardie material — rather than whatever generic product happens to be on hand — means the patched section is non-combustible, engineered for the Pacific Northwest's wet climate (Hardie's HZ5 product line is built for exactly this kind of weather), and finished with the same factory-cured ColorPlus finish as the rest of your home, so it doesn't need field painting or stand out as an obvious patch. It also keeps any existing Hardie warranty coverage intact where the repair falls under warrantable workmanship, instead of introducing a mismatched material into the wall system.
Why Hiring a Crew That Already Works Bellevue Matters
Siding repair isn't just carpentry — it's diagnosing why water got where it shouldn't have, in the specific conditions of your neighborhood. A crew that regularly works Bellevue and the greater Seattle and King County area already knows which wall exposures fail first in heavy shade, how local drainage and grading tend to cause moisture problems at the base of a wall, and what correct flashing detailing looks like under this region's rain loads. That local pattern recognition is the difference between a repair that solves the actual problem and one that just looks fixed until the next wet season.
If you're seeing staining, soft spots, moss buildup, or gaps in your siding, we're happy to take a look and give you a straight answer on what it needs. Reach out for a free, no-pressure estimate using the form below — we'll tell you honestly whether you're looking at a repair or something bigger.