 Seattle Siding
 Why Queen Anne Homes Are Hard on Windows
Queen Anne sits on one of the highest points in Seattle, with long, exposed faces looking out over Elliott Bay and Puget Sound. That elevation and water proximity are part of what makes the neighborhood desirable, but they also mean homes here take weather that flatter, more sheltered blocks don't see the same way. Salt-laden air off the Sound accelerates corrosion on hardware, fasteners, and older aluminum frames. Wind-driven rain off the water doesn't fall straight down — it gets pushed sideways into window faces and up under poorly flashed trim. And the long gray stretch from fall through spring keeps everything damp long enough for moss and algae to take hold on sills, trim boards, and anything with a horizontal surface.
None of that is unique to Queen Anne, but the combination of hill exposure, older housing stock, and King County's wet season means window problems here tend to show up as moisture and drafts before they show up as anything else. A window that's fine in a protected inland yard can be letting in weather on an exposed Queen Anne elevation.
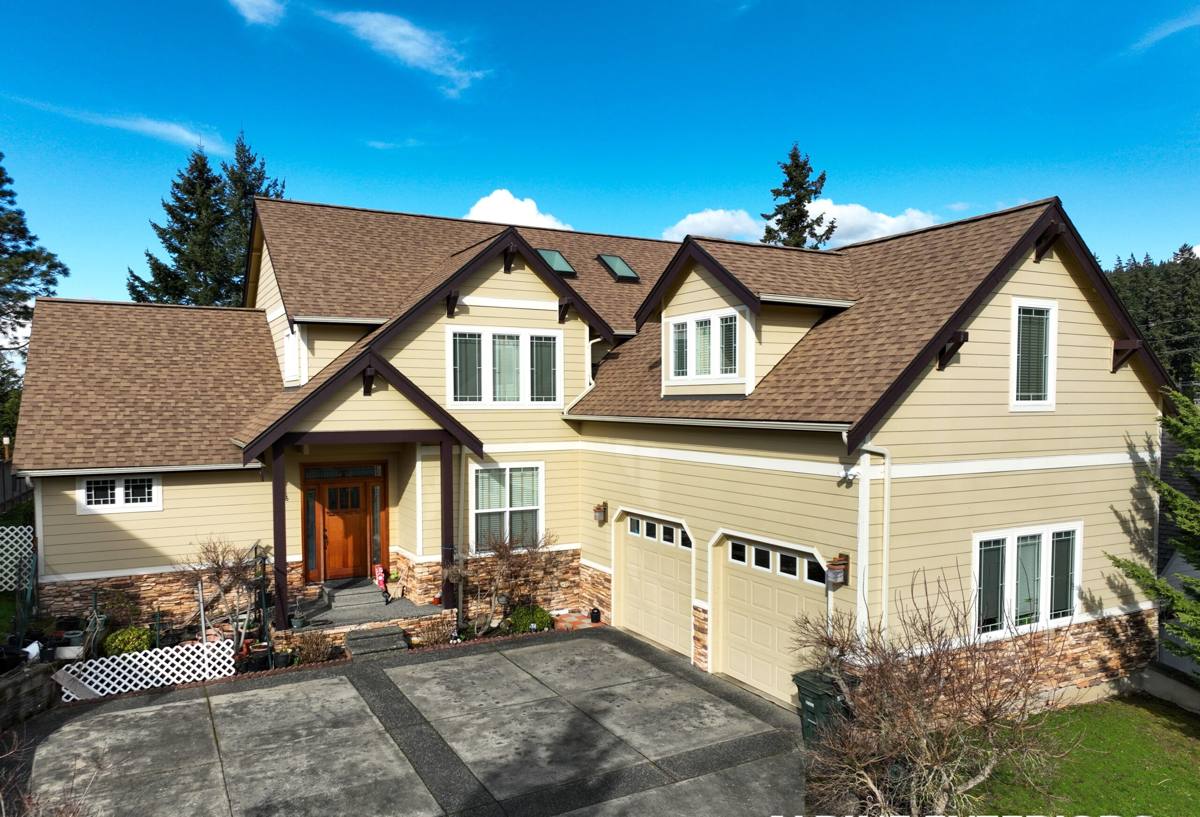
What "Energy-Efficient" Actually Means for a Window
Homeowners often think of energy efficiency as a glass rating, but the glass is only part of it. A window's real-world performance comes down to three things working together:
- Glass package — the number of panes, gas fill, and low-e coatings that control heat transfer
- Frame material and construction — how well the frame itself resists heat loss and holds its shape through wet-dry cycles
- Installation quality — the flashing, sealing, and integration with the surrounding wall assembly
A high-end window installed poorly will underperform a mid-grade window installed correctly. This is the part most homeowners never see, and it's where most of the real energy loss and water problems actually originate.
Where Windows Fail on Older Queen Anne Homes
Failed or Missing Flashing
Many older homes in this part of Seattle were built or re-sided before modern flashing practices were standard. When a window was installed without proper head flashing, or with flashing that was never tied into the surrounding siding, water finds its way behind the trim over time. Wind-driven rain off the Sound makes this worse than it would be in a calmer inland location.
Single-Pane and Early Dual-Pane Glass
A lot of Queen Anne's housing stock predates modern energy codes. Original single-pane windows, or early dual-pane units with failed seals, are common. Failed seals show up as fogging or a permanent haze between the panes — once that seal is gone, the insulating gas fill is gone too, and no amount of caulking fixes it.
Wood Rot at Sills and Corners
Wood sills and trim that stay damp through the long wet season are prone to rot at the corners and where the sill meets the siding. Moss growth on horizontal wood surfaces is often a visible early sign that water is sitting where it shouldn't.
Frame Material Comparison for This Climate
There's no single "best" window material — the right choice depends on the home's age, style, and how exposed the elevation is. Here's how the common options hold up under Puget Sound conditions:
| Material | Moisture Resistance | Maintenance | Best Fit |
|---|---|---|---|
| Vinyl | Very good — won't rot or corrode | Low | Most replacement projects, budget-conscious upgrades |
| Fiberglass | Excellent — very stable through wet/dry and hot/cold cycles | Low | Exposed elevations, larger window openings |
| Wood-clad | Good if detailed correctly, more sensitive to installation quality | Moderate to high | Historic or architecturally sensitive homes where wood interior trim matters |
| Aluminum (older stock) | Poor — conducts cold, prone to condensation and corrosion near salt air | High | Generally a replacement candidate rather than a repair candidate |
We don't push one material on every home. On an exposed Queen Anne hillside elevation, we'll generally steer a homeowner toward vinyl or fiberglass for the sheer resistance to moisture cycling. On a home where matching original wood trim details matters more than low maintenance, wood-clad can still be the right call — as long as the installation and finish work are done correctly, since wood-clad units are far less forgiving of a rushed install than vinyl or fiberglass.
What Correct Installation Actually Involves
Replacing a window isn't just popping the old sash out and the new one in. On a Seattle exterior, especially one exposed to wind-driven rain, the sequence matters as much as the product:
- Remove the old window and inspect the rough opening for hidden rot or moisture damage before anything new goes in
- Repair or replace any damaged framing, sheathing, or sill material found during that inspection
- Install a sloped sill pan to direct any water that gets past the window back outside the wall
- Set the new window plumb, level, and square, with proper shimming so it operates correctly for years
- Integrate flashing tape and house wrap in the correct shingle-lap order so water sheds down and out, never behind the siding
- Seal and insulate the gap between the frame and the rough opening — not just caulk on the outside, but proper backer rod and sealant, plus low-expansion foam or insulation in the cavity
- Finish exterior trim and siding tie-in so the window reads as part of the wall assembly, not a patch
Step 5 is where most callback problems come from on homes we're asked to look at after someone else's window job. If the flashing isn't lapped correctly with the existing siding, the window can look perfect for a year or two before water starts showing up inside.
Signs a Window Needs Replacing, Not Just Caulk
Not every window problem means full replacement. But these are the signs worth taking seriously before the next wet season:
- Fogging or a permanent haze between panes of dual-pane glass — the seal has failed and can't be repaired
- Visible daylight or a draft you can feel around the frame when it's windy
- Soft or spongy wood at the sill or lower corners of the frame
- Moss or dark staining building up on the sill or trim, even after cleaning
- Paint that keeps peeling or bubbling on the interior or exterior trim near the window
- Difficulty opening, closing, or latching a window that used to operate smoothly
- Condensation forming on the inside of the glass regularly, even in normal weather
If you're seeing one or two of these, it's worth a closer look before deciding between a repair and a replacement. Seeing several at once on the same window, especially on an exposed elevation, usually means replacement is the more honest recommendation.
How This Fits Into Siding Work
Windows and siding aren't separate systems — they're part of the same weather barrier. This matters most during a full siding replacement or re-side project, since that's the point where the flashing around every window opening is exposed and can be corrected properly, rather than patched around existing siding. If you're already planning siding work on a Queen Anne home, it's worth having window condition assessed at the same time. Doing both together also means one clean tie-in between window flashing and the new siding's water-resistive barrier, instead of two separate contractors' work meeting at an untested seam.
That said, window replacement on its own, without touching the siding, is a normal project too — it just requires more careful trim removal and reinstallation to keep that flashing integration intact.
What Drives the Cost
We're not going to quote a number here that doesn't mean anything without seeing the home, but these are the real factors that move a window project's price up or down:
| Factor | Why It Matters |
|---|---|
| Number and size of openings | More or larger windows means more material and labor |
| Frame material chosen | Vinyl, fiberglass, and wood-clad carry different material costs |
| Hidden framing damage | Rot found once old windows come out adds repair scope |
| Access and elevation | Upper-floor or steep-lot windows take more setup and time |
| Trim and siding tie-in | Matching existing trim profiles or siding adds finish work |
| Historic or design review requirements | Some Seattle neighborhoods have restrictions on visible exterior changes |
Why Local Experience on Queen Anne Specifically Matters
Queen Anne's mix of older homes, steep lots, and hillside exposure means every project has its own quirks — narrow side-yard access, upper-story windows that need real staging or lift work to reach safely, and in some pockets, design considerations around how exterior changes look from the street. A crew that's worked this neighborhood before knows to check for these things upfront instead of discovering them mid-project. It also means knowing what the City of Seattle's permitting process actually requires for a given scope of work, rather than guessing.
None of that is exotic knowledge, but it's the difference between a project that goes smoothly and one that hits surprises halfway through. Combined with materials chosen for the Puget Sound climate and an installation process that treats flashing as seriously as the glass, that local experience is what actually protects a Queen Anne home through King County's wet winters.
If you're dealing with drafty, foggy, or moss-stained windows on a Queen Anne home, we're happy to take a look and give you a straight assessment — no pressure, no upsell. Use the form below to request a free estimate.